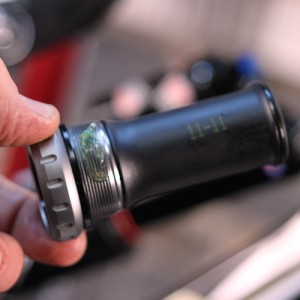
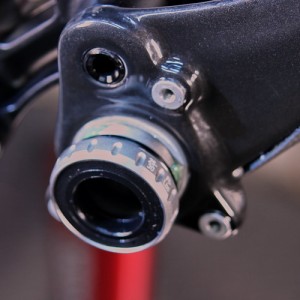
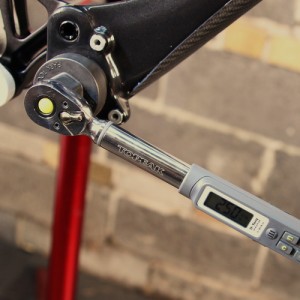
After installing the fork and headset on my new Santa Cruz V-10 build, it was time to install the drivetrain. I started off by adding a bit of grease to the bottom bracket cups. Following the well-illustrated SRAM guide, I placed the correct spacers for the Truvativ bottom bracket width and used a proper bottom bracket tool and a torque wrench to set everything up. The cups went into place with little fuss. Just remember to torque the cups down using a torque wrench.
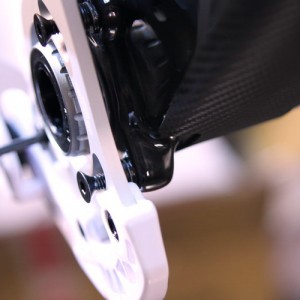
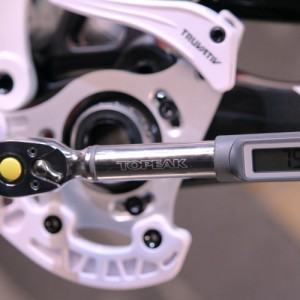
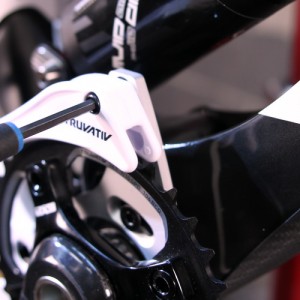
The chain guide, also from SRAM (Truvativ), was next. Setting a chain guide for the first time can take a bit of work. The key is to align the guide pulley to the chain ring. This is accomplished using the included spacers, which fit between the ISCG tabs and the chain guide. Follow the directions from the manufacturer for further details: they are generally easy to follow with many small steps. The trick with the guide set-up is to make sure the angle you choose is as close to touching the rear suspension as you can get (unless you have an elevated rear chainstay). You can also align the taco (chain retention device that replaces the front derailleur) in an 11 – 12 o’clock position. Then install the crank, torque it down, and you’re mostly ready to go in front.
Rear Derailleur Installation
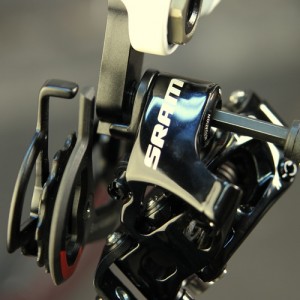
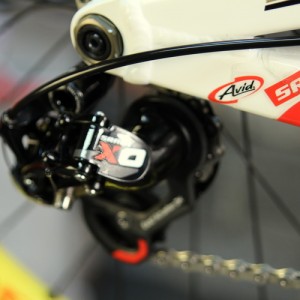
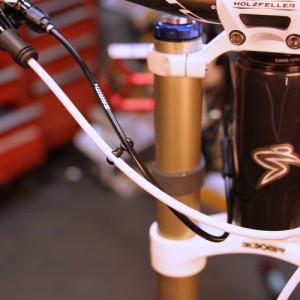
After attaching the shifter, the rear derailleur installation comes next, along with the cable routing. With the cable in hand, you want to have gentile bends in the line. No sharp kinks or excessive amounts of cable that can (and will) snag on stationary object (trees/bushes). On a DH bike you are limited in steering, so the length needed is shorter than most people think. A slight bulge in the cable at the derailleur and a gentle curve of cable at the shifter is about where you want to be in length. That is enough to keep the cable ends seated nicely in the shifter barrel, and the cable stop on the derailleur. Using a good quality cable is a great idea here: I used SRAM SlickWire cables, seeing that the bike uses a full-length housing that reduces the risk of contamination from dirt and moisture. This is critical based on the environment that DH bikes operate in.
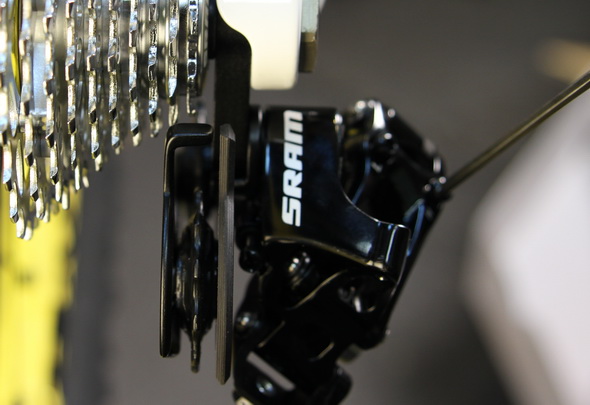
Setting the stops on the derailleur properly is key. SRAM wants the derailleur’s top pulley to be a half gear-width offset (towards the derailleur hanger side), on the high end. On the low end, set the derailleur so that the top cog on the cassette is in line with the idler pulleys on the derailleur. The new DH derailleur from SRAM can now have its “B” screw adjusted properly so that it is the correct tension and distance away from the cassette (a small issue with my previous set up on my Banshee). Once I set the limits, I installed the chain and shift cables (for further info on these check out our articles on Derailleur Adjustment and Chain Installation).
Coming soon: cockpit configuration and brake installation.




8 Comments
Dec 29, 2011
Dec 29, 2011
Dec 29, 2011
Dec 28, 2011
Dec 28, 2011
Dec 28, 2011
Dec 28, 2011
Dec 29, 2011