
Each of the moving parts in contemporary mountain bikes uses a similar system to rotate and slide with minimal friction and maximum longevity. Learning to maintain and replace those active components can save heaps of cash and time. A few DIY mechanic skills may also provide the confidence to dig deeper into the forest with the knowledge that you can sort out most mishaps.
The headset in a modern bike works similarly to the bottom bracket in most cases, and if you understand one the other will likely follow closely behind. There are two main types of headsets used in new mountain bikes: EC or “external cup,” and IS or “integrated.” The basic difference is that the EC uses a set of metal cups that are pressed into the frame to hold the bearings, where the IS version uses the frame itself to hold the bearings by incorporating a pair of bearing seats into the frame itself. Zero stack or ZS headsets are also popular in modern frames and function the same way as an EC headset, though the cups sit further in the frame, creating less stack. Either of these options will use sealed cartridge bearings in a small variety of shapes and sizes, whereas older bikes used loose ball bearings in their headsets and bottom brackets. This helpful guide from Park Tool will help you determine which style your bike has.
The highlighted links below will lead to related headset installation videos or articles.
What’s in a headset?

A messy pile of components fit under the headset umbrella. Beginning from the base, there’s the crown race. This is a thin ring that slides onto the fork’s steerer tube and sits against the fork crown, allowing a specific headset to interact with a fork. The lower bearing in a headset can have a different shape depending on how it’s designed, so the included crown race “pairs” these two components.
There are also reducer crown races that are designed to combine a fork with a 1″ steerer tube to a frame and headset that is designed to use a 1.5″ tapered steerer tube. The crown race takes up space where the wider steerer would be so that you can use a modern headset and frame with an older style narrow steerer. Reducer races are typically used on new bikes with steel steerer tubes where the frame can also accept the tapered steerer of a suspension fork. A Surly Karate Monkey is a common example.

Moving skyward slightly, the next element is the lower bearing. With nearly any production bike made in the last five years, this will be the larger of the two bearings, since it fits around the larger end of a tapered steerer tube. The bottom edge of it will be shaped to sit flush on the crown race, and the upper edge shape will match that of the lower bearing cup or the frame itself.

If your frame takes an external cup to house the bearing, this will be the next headset component in line from the floor to ceiling. The lower bearing either rests in this cup, or in an identically shaped piece of the frame.
Above all of that goodness, you have the frame’s head tube, wherein the steerer tube rotates and the bearings are seated. As you likely guessed, there’s another external cup pressed into the upper head tube, or a bearing seat in the frame, just like the lower. The upper bearing slots comfortable into that upper cup or frame seat.

A preload spacer slots between the upper bearing and the steerer tube to take up space and allow the headset to be tightened properly. On some headsets, this piece is integrated into the dust cover, while on others it’s a separate loose part. Some headsets may include a set of thin spacers that belong on top of the preload spacer to account for variances in frame headtube height above the upper bearing. Add as many of these as necessary so that the headset can move freely while not creating a gap between the dust cover and the frame.
Toward the tippy top, a dust cover is placed above the preload spacer(s) to protect the bearing from the elements and allow the system to be tightened properly.

Finally, the stem spacers and stem fill up the rest of the steerer tube. The star fangled nut (SFN), installed in the steerer tube, allows the top cap and preload bolt to pull the whole system tightly together. Then, the stem bolts are tightened to keep it snug. Now, on to some tips for headset installation and removal.


Installation trickery

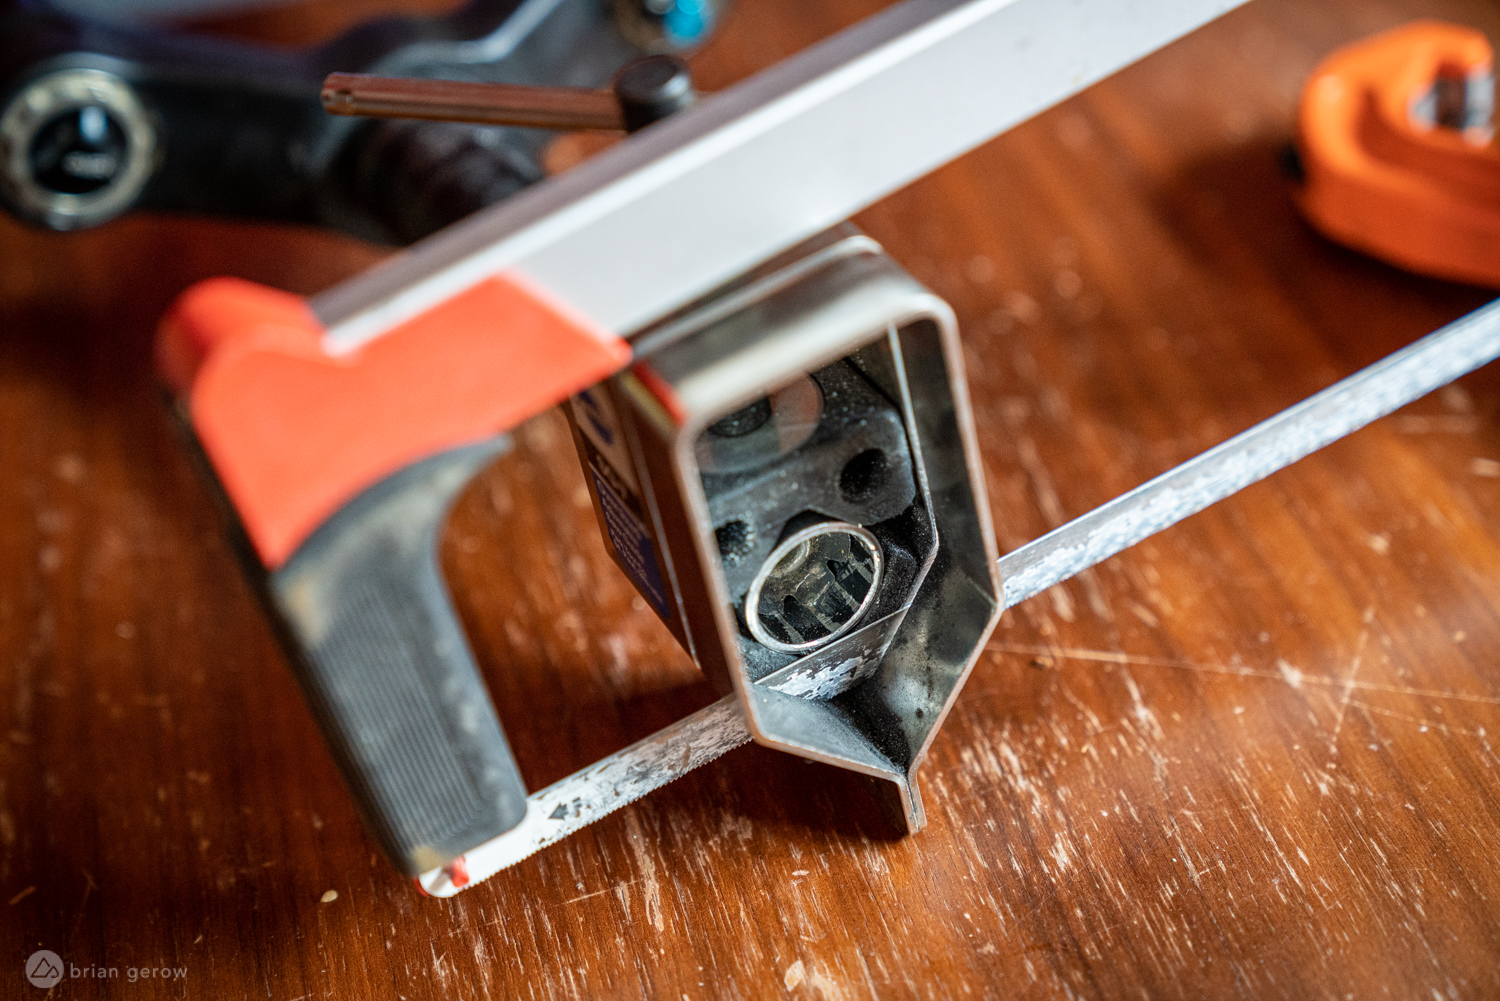
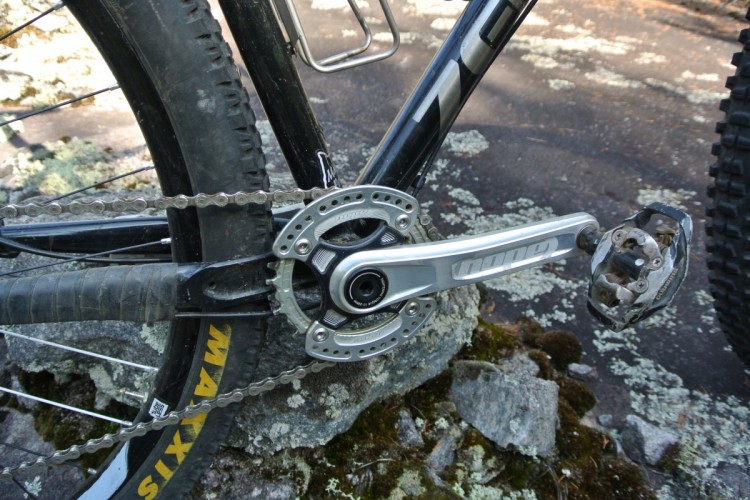
The pile of tools one could conceivably own for headset and fork installation is heavier than the frame and fork combined. Tool companies make massive crown race setters that fit all lengths of steerer tubes, and the tool itself is about as cumbersome as the fork. All you really need is a hack saw or Dremel tool and about two minutes. Cut a slot in the crown race, just like the Hope race shown above, grease the steerer tube where the race will sit, and slide it in place. It will also be decidedly easier to remove with the slot cut out.


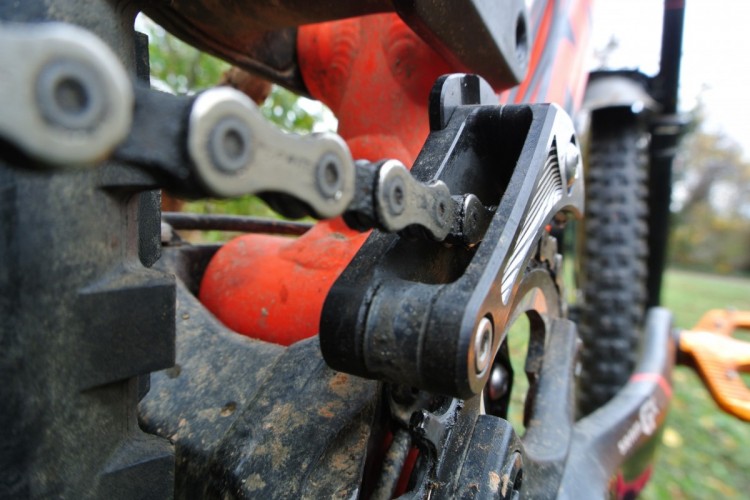
Another quick and inexpensive way to install a crown race is with a piece of plastic pipe like the one shown above. You’ll need a piece of pipe that fits over the 1.5″ fork steerer tube, and isn’t any wider than the crown race. Give the greased race a few good whacks with the pipe until it’s fully seated.
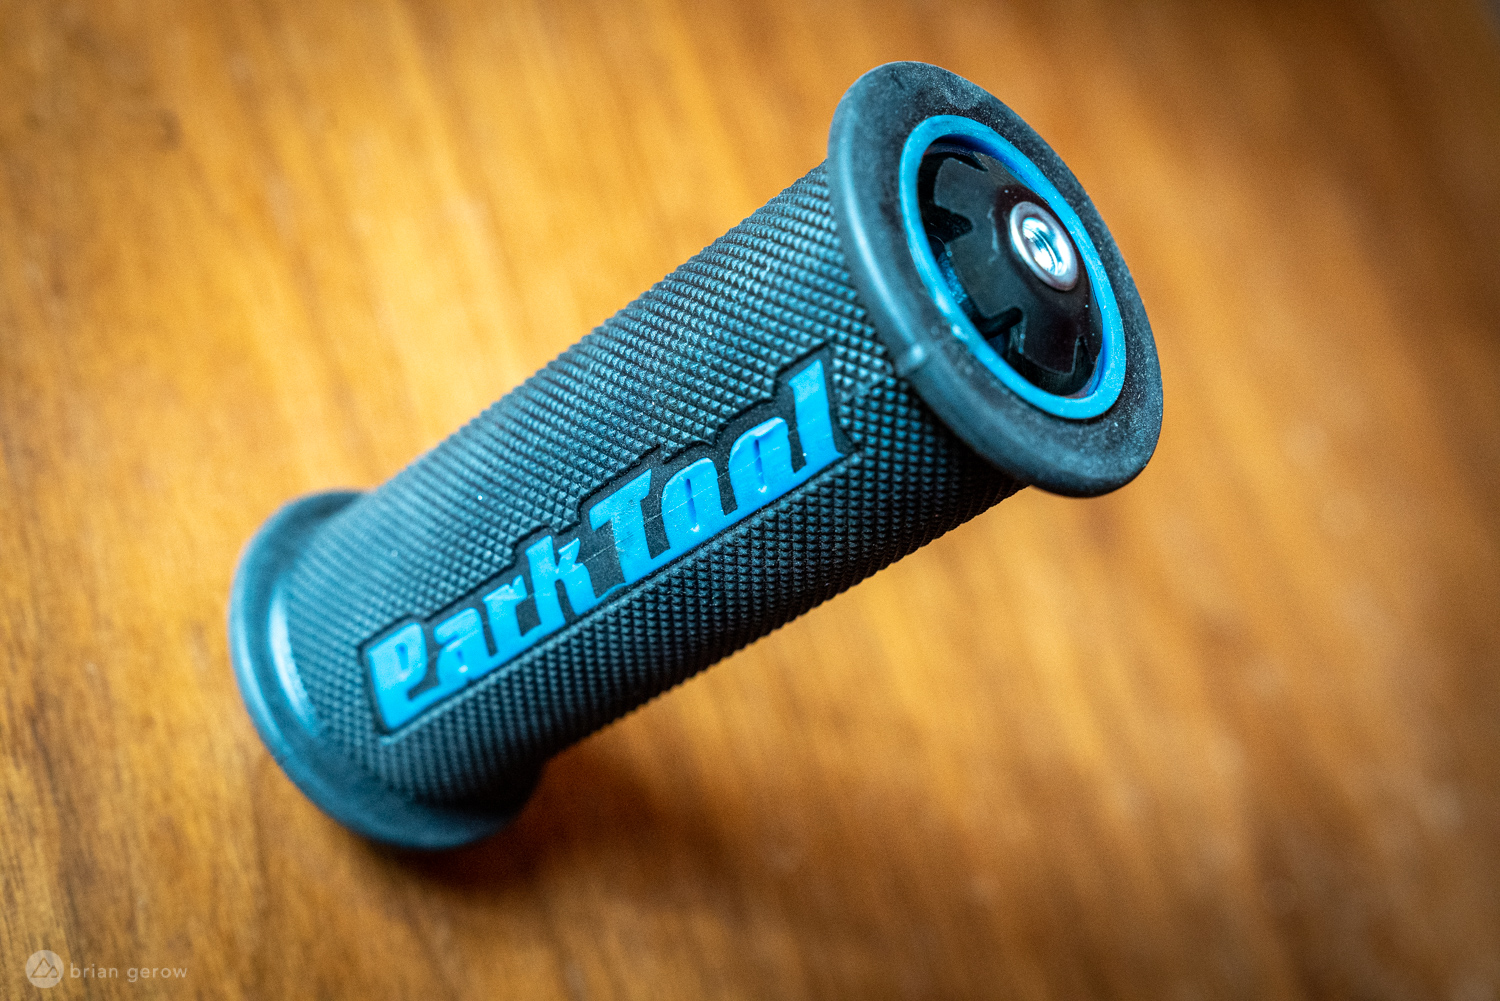
With the crown race snug against the fork crown, it’s time to cut the steerer tube to the proper length. It’s a good idea to put the steerer in the bike and measure it with all of the bearings, spacers, and stem installed. Measure thrice, mark it well, and then chop it up. You can use a hack saw and a blade guide like this one from Park Tool to get a fairly clean cut. With carbon steerer tubes like those on a lot of road and gravel bikes, this is the only way to go, and you may want to purchase a carbon-specific blade. For aluminum and steel tubes there’s a better way.

A pipe cutter like this one from Beta will give you a cleaner finished cut than any hacksaw could manage. Take it slowly, tightening the blade ever so slightly every couple of turns. This method takes a little longer than the hacksaw, and the factory-like result is worth it.
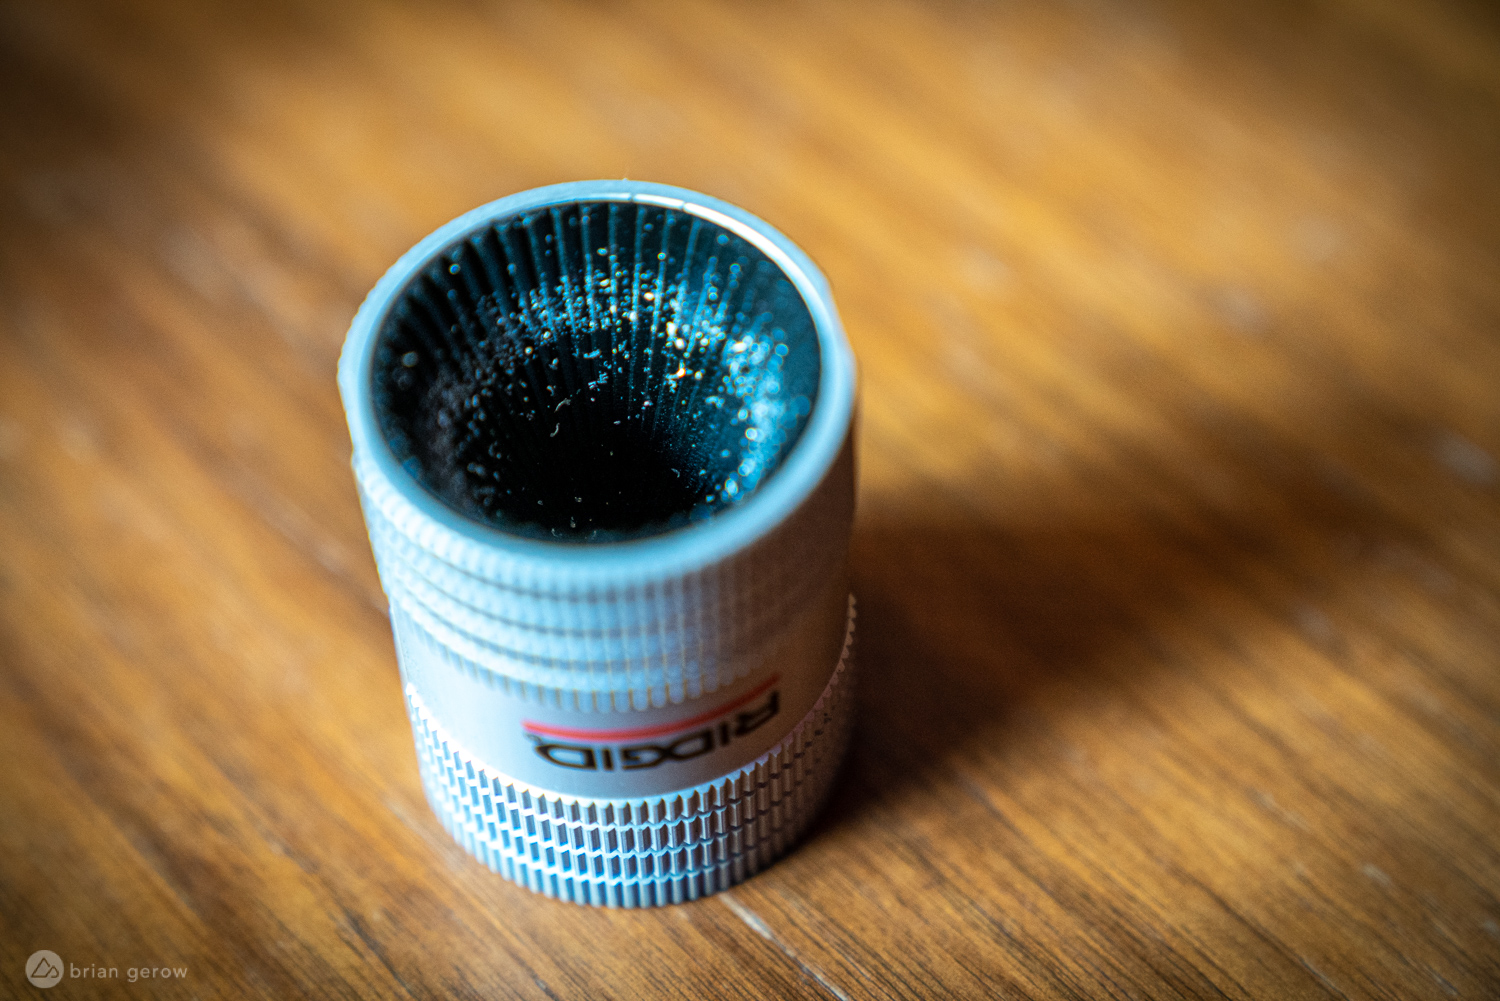


Regardless of how you slice it, it’s a good idea to clean up the edges of the tube before installing it in your headset. The headset dust cover has a thin rubber seal to keep moisture out, and a rough steerer edge may damage the seal. A pipe reamer is a worthwhile tool for the job that will likely outlast its owner. Make sure to purchase one designed for smoothing metal edges, as there are lighter-weight versions used on plastic pipes. You can also use a flat mill file to clean up the outer edge of the steerer.
A star fangled nut setter is one of the smaller headset specific tools that is worth purchasing if you regularly work on bikes. If you only need it once every few years, it’s likely better to take the fork to a bike shop.
The star fangled nut can also be installed by inserting a bolt and carefully pounding it in with a hammer, but it likely won’t end up straight and you run a strong risk of pinching your hand between the nut and steerer. There are a few “hacks” for this install if you’re really not interested in buying the tool.
Another option is to install a compression plug into the steerer instead of the SFN. Compression plugs, designed for carbon fiber steerer tubes, expand as you tighten them in place and essentially become stuck in the steerer. Then, the top cap and preload bolt can tighten the system in the same way they would with the SFN. This might seem less secure, but remember that it’s not the SFN or compression plug that holds your headset tight. That’s managed by the stem as it clamps on the steerer tube. You could even remove the top cap and preload bolt and go for a ride if your stem is tightened properly.
Other alternatives to the SFN include any of the steerer mounted stash tool systems that each have unique ways of tightening the headset. A few of those systems include the One Up EDC Tool System, the STASH Multi Tool from Granite designs, the Specialized SWAT system, or the Bontrager BITS.
One other method to cinch a headset down tight is to ask a friend or neighbor for help. Let’s say you’re traveling and lose your top cap and/or bolt in the process of unpacking your bike. The show can go on. Put your bike together, as usual, sliding all of the steerer spacers and stem into their usual places. Then, have someone press on the handlebars with all of their weight pressing down into the fork. This will tighten the headset, albeit inaccurately, and you can wind the stem bolts in to hold it in place. The tough part is getting the handlebar aligned while someone is pressing their girth into it. After a few tries, you’ll likely be able to get the bars aligned and the headset tight.
One of the last steps to a headset install, before sliding it all together and adjusting the headset is to install the bearing cups. The video above shows just how to do so with the Park Tool press. You can perform the same install with a threaded rod, some large washers, and a couple of nuts. This is another install element to perform with great patience, making sure to grease the frame and cup, press them in one at a time, and keep the cup aligned with the frame’s headtube at all times.
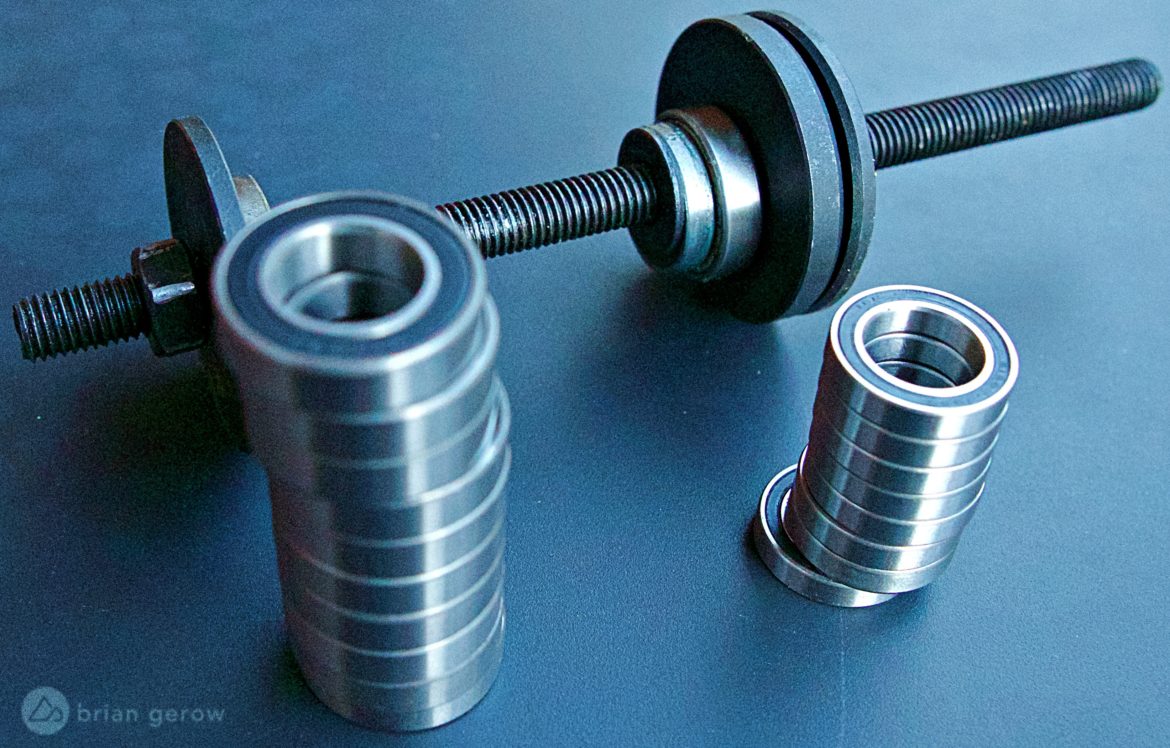
This rudimentary press works well for installing wheel bearings, pressed bottom brackets, and headset cups alike. The price is a fraction of the massive version in the video above, and it’s small enough that it can fit in a mobile tool box. The bearing drifts included with more professional-level tools can also be used with this simple press for a more precise install.
Finally, the “I can’t recommend it” method of bearing cup installation is what my former roommate called the “board of destiny.” The BOD was a discarded chunk of 2 x 4 pine that all of the crusty bike racers in our dingy squat used to install headsets. It couldn’t get much simpler. Put the headset on the board and line the head tube up with the cup. Then, bang on it with a rubber mallet until it’s in. Violà! We eventually bought a vice and started using that to press the cups in which worked much better.
Headset removal


Popping the headset out is a far simpler process. If you have an integrated headset, just remove the stem and it will fall out all on its own. If your headset uses pressed cups, a cup removal tool is an inexpensive and lightweight hunk of steel that you can also use to remove pressed BB cups and bearings. While these can be made from hardwoods, cut PVC, a perfectly shaped dowel, and a host of other common objects, the tool costs less than $30 and will last as long as you do.

Crown race removal is the final tricky bit. If your crown race wasn’t greased or cut prior to installation, you may need to take it to a shop where they will heft a the six pound tool that costs about $270 to break it free. If you cut it first, a razor blade and a pair of pliers will do the trick, without damaging the soft fork crown material. Slide the blade under the crown race and wiggle gently until it pops off.
Your turn: What headset related tips and tricks have worked well in your garage? Please share them below.


0 Comments