No one in the service industry has your back more when it comes to the well being of your bike than Park Tool. On my last visit to Interbike, Park had a few very interesting shop-oriented items available. One item I can best describe as a combination of their DT 1.2 and DT 4.2 facing kits. The new DT-5 facing kit works for both facing post mount brakes and IS mounts. This is probably the most accurate way to determine if the disk brake mounting tabs are correctly aligned to your rotor.
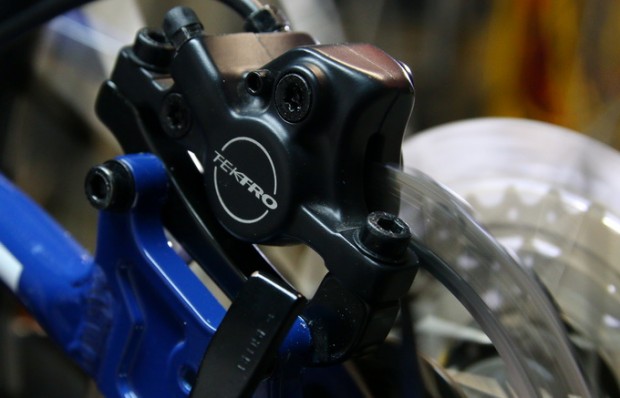
Why is that so important? Let me ask you: have you ever had a mushy-feeling brake and never had that issue resolved? Or have crazy-uneven pad wear and not know why? How about a caliper that would generate all manners of off key notes that would scare even a Kodiac away? All of these issues are categorized as NVH (Noise, Vibration, Harshness) issues and could be caused by a misaligned caliper.
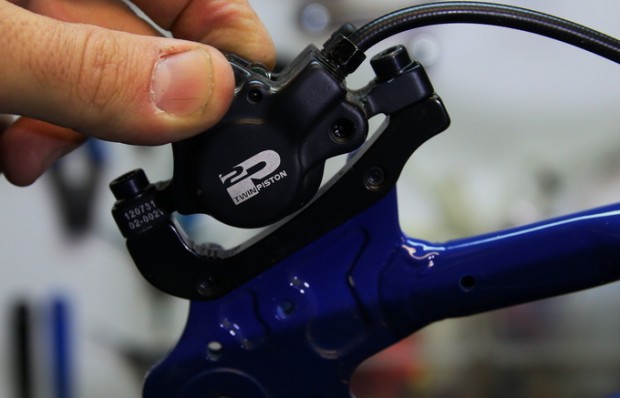
Almost all brake brands today do a great job casting their caliper bodies and ensure that the mounting tabs are square to the pad and the rotor. More than likely you can rule out the caliper as an issue for misalignment. Now frames are another story altogether. With frames, even carbon frames, the post/IS mounts do occasionally fall out of alignment during welding/molding, and sometimes painting. The result is a mount that will slightly distort a caliper, leaving it anything but square to the rotor.
The new DT-5 is a very comprehensive kit that will clean up nearly all the present bike standards available today (barring fat bikes). At the time of writing, this kit works on wheel spacings of 100, 135, 142, 150, and 157mm, with quick release and through axle adapters for 15 and 12mm included. There is a kit for fat bikes in the works but after talking with the folks at Park, it sounds like they will be holding off until the dust settles as far as axle spacing is concerned.
As previously mentioned, this is a shop-level tool kit, complete with case and instructions. The first thing I did was go online, grab the PDF instructions, and modify them into a 12pt font. I then printed the enlarged instructions and laminated them to the existing instructions, covering the small print. Now that they’re easy to read and safe from the environment, I can post these instructions on my reference wall. Due to the different wheel spacings out there, I figure having the instructions safe is a smart thing, as I am sure I will revisit them often.
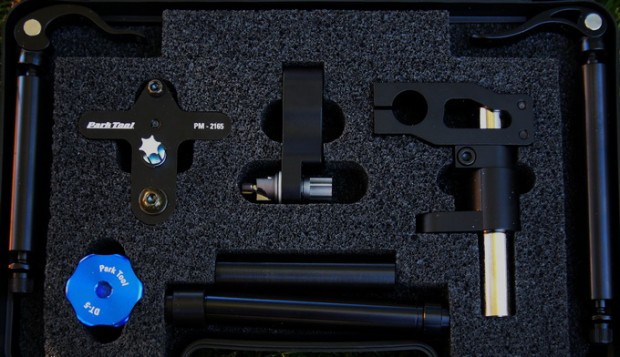
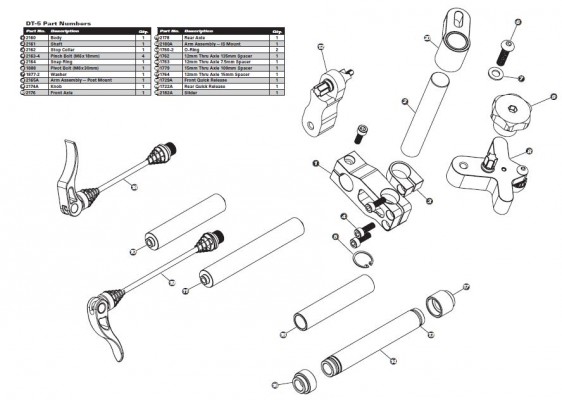
The kit includes:
- IS cutter unit
- PM cutter unit
- Park Tool knob
- Stop collar
- Main body assembly
- Quick release front axle assembly
- Quick release rear axle assembly
- 15mm through axle assembly
- 12mm through axle assembly + spacers
Reading the instructions a few times is a great idea for familiarizing yourself with each component. The only other thing you would need for this kit to last a long time is a bit of cutting fluid (also sold by Park, but any cutting fluid will do).
Having a small fleet of bikes is a great way to check how well a tool really works. I used DT-5 on a few different styles of brake mounts and different bike sizes during my review.
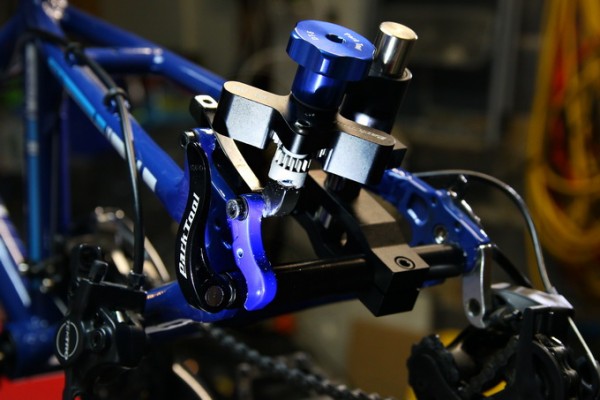
Setting up the DT-5 takes a few minutes. Based on my observations, it’s crucial to make sure that during the procedure, you cannot have any movement of the axle and tool post. Noticing a soft brake on my son’s bike, I noticed that his caliper was not even close to being square to the rotor. In this case, I set up the DT-5 to cut his IS mount true.
To do this, the IS mount instructions must be followed. Having a 10mm quick release rear wheel, the provided rear axle mount must be used along with the supporting hardware. Going over the whole procedure would be too lengthy, so a summary along with photos will cover things nicely.
First, remove the brake and adapter.
Second, select the axle and follow the tools guide for correct adapters.
Install IS cutting adapter, slider, and axle stop on the supplied axle adapter.
Manipulate the IS cutter (with it slightly loose on the slider) to setup the cutter to the lower IS mount. Once set, face the lower IS mount just enough to make a flat surface.
Set the axle stop, then swing the tool to the next IS mount. If there is a space between the stop and the cutter you can proceed to remove material till the cutter/slider touches the stop.
If that is not the case, carefully reset the stop, face the top mount, reset the stop, and cut the lower IS mount till it reaches the stop. The key here is to make both the IS mounts line up with each other.
Next, install the IS to post adapter.
Reconfiguring the axle adapters to the post cutters is necessary. Even post mounts can be off. Setting up and cutting is necessary in many cases.
Following the instructions carefully, use the correct sequence of the slider and stop: stop collar first, then slider, then post cutter! Once that is established, the cutter acts as the level tool as well. From here, set the cutter between the post mounts using the tool’s little wing extension, and carefully tighten the body and post to set the tool. This task was the hardest thing to do correctly as there is a chance for movement when tightening.
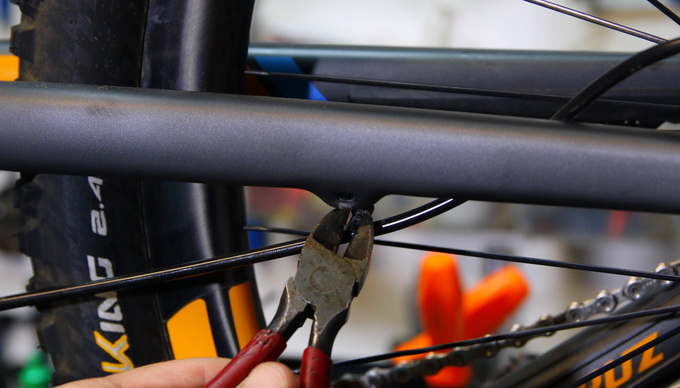
Once you set the level, again set the cutter to one of the posts. Use a bit of cutting fluid to facilitate and smooth your cut. Remove only enough to make a level cut.
Set the stop before going any further. Loosen the cutter enough to swing it over to the next post. At this point, observe the space or lack thereof between the slider and the stop.
Space between means that you can cut this post down. No space means you can face the second post, but you will have to reset the stop then cut the first post again.
Once everything is cut, you can install the brake calipers with confidence. In the case of my son’s bike I immediately noticed the difference in caliper position. The brake no longer made as much noise and the brake had a firmer feel to the lever.
On my Bronson, I had slight noise issues with the rear brake. Setting up the DT-5 to the rear triangle required the use of the supplied adapter. Surprisingly, it took no time at all to look up the axle configuration needed for the DT through axle. Now the Bronson uses a carbon rear triangle, so I was a bit nervous and critical when setting things up here. I am of the belief that having mounting faces true is far more important that worrying about cutting into a few fibers, so I did trim the faces. Low and behold, the mount now sat squarely and like my son’s bike, cutting the IS adapters posts also revealed they were a bit off as well.
Long story short, the rear brakes now work without waking the dead.
Overall I would say this level of work should be reserved for confident, proven at home tech’s or professional shop personnel. If you have any doubt in your mind about whether or not you’re capable of performing this work, then just take it to a shop.
MSRP: $339.95
Thanks to Park Tool for providing the DT-5 for review.








0 Comments