Having not purchased a new, lower-capacity hydration pack for short rides since my first Camelbak in 2000, I jumped at the opportunity to review the Camelbak Charge 10LR. When I reviewed the larger capacity Dakine AMP 12L a few months ago, I marveled at the features now being incorporated into modern hydration packs relative to those early, primitive models. I was anxious to see if that trend had hit the 70oz packs as it had the 100oz packs, and I was not disappointed. The Charge 10LR is a marvel of trickle-down technology… and incorporated a few new tricks of its own for good measure. Lets look at those features and how they perform in real riding conditions.

Before we get into the unique features, let’s cover some of the basics.
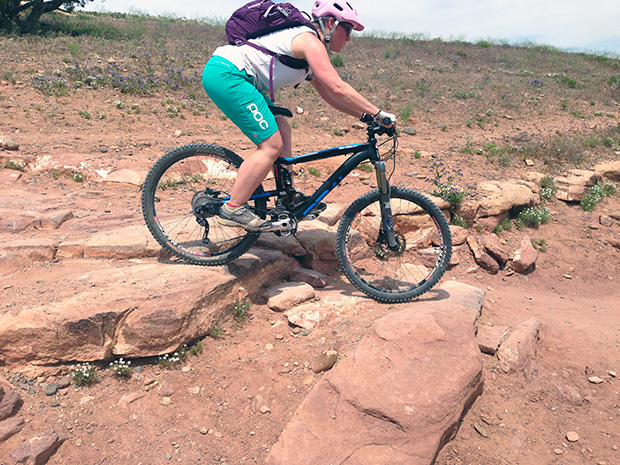
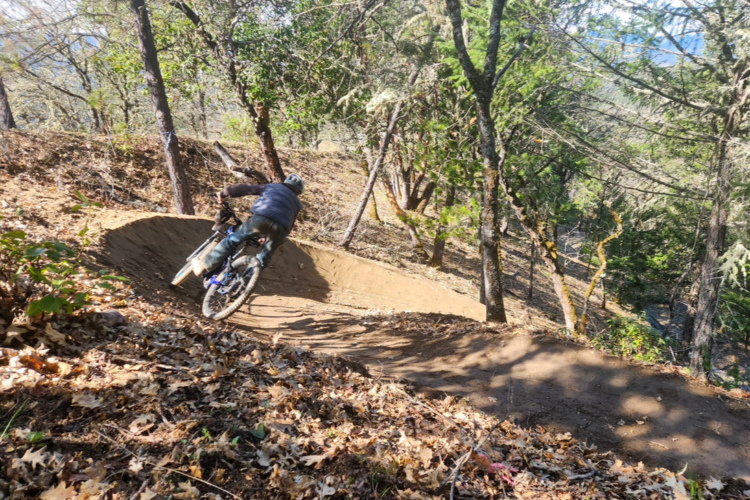
- The Charge has the basic shoulder straps, augmented by a sternum strap for added stability. The hip belt and associated compression straps further secure the pack at the bottom of the torso. At this point, it is important to note that this pack, when properly cinched up, is absolutely unshakeable. I could do everything from a standing climb to a bone-jarring staircase descent and couldn’t detect one millimeter of pack movement. This would certainly be a great pack for your more rugged rides.
- Storage capacity is very large for a 2-liter pack. There’s enough room for all the essentials, and then some. Interior storage is nicely arranged with adequate slots for most anything. I saw this as a bit of overkill as a 2L pack is what I generally use for lunch/after work rides and the 100oz pack is what I grab for those rides when I may want to bring that extra extra tube, a couple sandwiches, a camera, etc. This extra capacity isn’t a bad thing since the pack is, as previously noted, incredibly secure. It is also constructed out of exceptionally lightweight materials, so you don’t notice the extra weight. The additional storage capacity is simply there if you need it.
- Those lightweight materials do give me some cause for concern. I still have my original Camelbak Rogue purchased in 2000. I’m not so sure I’d still have this Charge 15 years from now. After three months of thrashing, the Charge has held up well, but time will tell if it’s truly in for the long haul.
- The Charge has a single ventilation channel, which Camelbak labels its “Integrated Ventilation System.” This channel runs vertically from the top to the bottom of the pack, and is only about 3/8” deep. I found this feature to be lacking for me, but then I start sweating about the time I throw my leg over the top tube. My larger Camelbak has a similar vertical channel, but it runs deeper and is augmented by additional channels to the side, allowing for more circulation. While this feature was a bit lacking in my case, it’s not a significant problem since I use the smaller packs for quick rides. I wouldn’t want to take this one out for an all day-er in warm weather, but I’ve found it to be a great choice for long rides in cooler temperatures where I don’t require as much hydration or ventilation.

Among the newer features, the first thing I noticed was the hip belt. This reminded me of another progression, one that took place in the backpacking world and has now found its way into smaller hydration packs.
I went a very long time before buying a quality backpack to replace the painful old packs of my youth. When I finally did, I marveled at the hip belt, which did an amazing job of redistributing weight off the shoulders and placing it on the hips, making it much easier to carry heavier loads further with less fatigue.
Now, that same hip belt shows up on many hydration packs, including this little 70-ouncer. Moreover, like my sweet, new backpack, this hip belt also contains a zipper covering a small storage area within the hip belt itself, again placing the weight where it is most easily supported. The hip belt pockets also make for easy access: you can now grab those gel packs or energy chews without breaking stride.
Verdict on the hip belt: This backpacking innovation translates nicely to the small hydration pack, although it’s not entirely necessary. This is a small capacity pack, so it’s not going to be carrying a lot of weight. Furthermore, given the shorter-ride nature of this pack, I’m not going to be needing those power bars or gels which are now so easily accessed. Again, there’s nothing wrong with adding these features, they just might not get used a lot.

The next feature that grabbed my eye, and an even bigger departure from tradition than the hip belt, was the placement of the reservoir. Rather than running vertically up the spine, the reservoir in the Charge 10L runs horizontally across the lower back, with arms extending into the hip belt. This is yet another feature designed to distribute weight into the most comfortable and stable configuration possible.
Verdict on the bladder arrangement: For me, this was a mixed bag. There’s no doubt this placement of the bulk of the weight (water) near the rider’s center of mass contributes to the pack’s unshakeable nature. Again, this is just a 2L reservoir, so we’re not needing to secure a lot of weight in the first place. I also had three problems with the layout:
- The location of the entry at the lower back-side of the back, the slot you must tuck the reservoir opening extension into, the need to remove and reattach the draw tube each time you remove and replace the reservoir, and the need to extend the “wings” of the reservoir into the hip belt, make for somewhat awkward loading. In reality, this only takes a few seconds longer than my other packs, but since this smaller pack is to be my quick-ride, “grab and go” pack, I found the extra fuss to be a little distracting.
- This bladder is difficult to fill to capacity without spilling or carrying a volume-consuming air bubble. It’s also difficult to drain completely. There were times I really wanted that last four ounces, but just couldn’t get them.
- I simply could not get used to having that weight pressing against the small of my back rather than centered along my spine. While the pack was more stable and secure than any other I’ve tried, that came at a price in comfort. Maybe this old dog just isn’t ready for a new trick. To broaden the data points for my review, I had Miniskibum hit a few rides with this pack, without telling him my impressions beforehand. He also found the unexpected pressure on the lumbar to be disconcerting, but said he had adapted after a few rides. This is probably just an example of be being an old dog having difficulty adapting to this new trick.

In the end, I saw this pack as one with a bit of an identity crisis–like a hardtail with a 6” fork, what exactly are you supposed to do with it? The Charge 10LR has many of the features and capabilities of an all day pack, but has the smaller liquid capacity of a pack for shorter rides.
It’s important to repeat that there’s nothing wrong with the pack, but if I was to buy another 2L-type pack, I would likely opt for the simpler Camelbak Rogue, which strikes the efficiency freak in me as more appropriate for the quick rides and comes in at a mere $68 MSRP versus the $110 MSRP for the Charge.
The Charge 10LR is more likely to be right for you if you can get by with 2L on a 3+hour ride (I usually can’t, especially in the warmer months), but still want easy access to your goodies after the ride has begun. It’s also a superb choice if you prize load stability above all else.
Thanks to Camelback for sending the Charge 10LR over for review.


1 Comments
Jan 5, 2014
Thanks!