Mountain biking probably offers the closest feeling I’ll ever get to piloting a fighter jet. Like military pilots, mountain bikers need to quickly process a lot of information and act accordingly to ensure success and avoid disaster. One of the tools pilots have been using for decades, the heads up display, has recently been adapted for mountain bike use by the team at Everysight.
Beyond its heads up display features and potential for navigation and tracking ride metrics, the Raptor can also take photos, record video, and even play music. I’ve been testing the Raptor on my local trails, and here’s what I’ve learned about this innovative eye-ware product.
Hardware

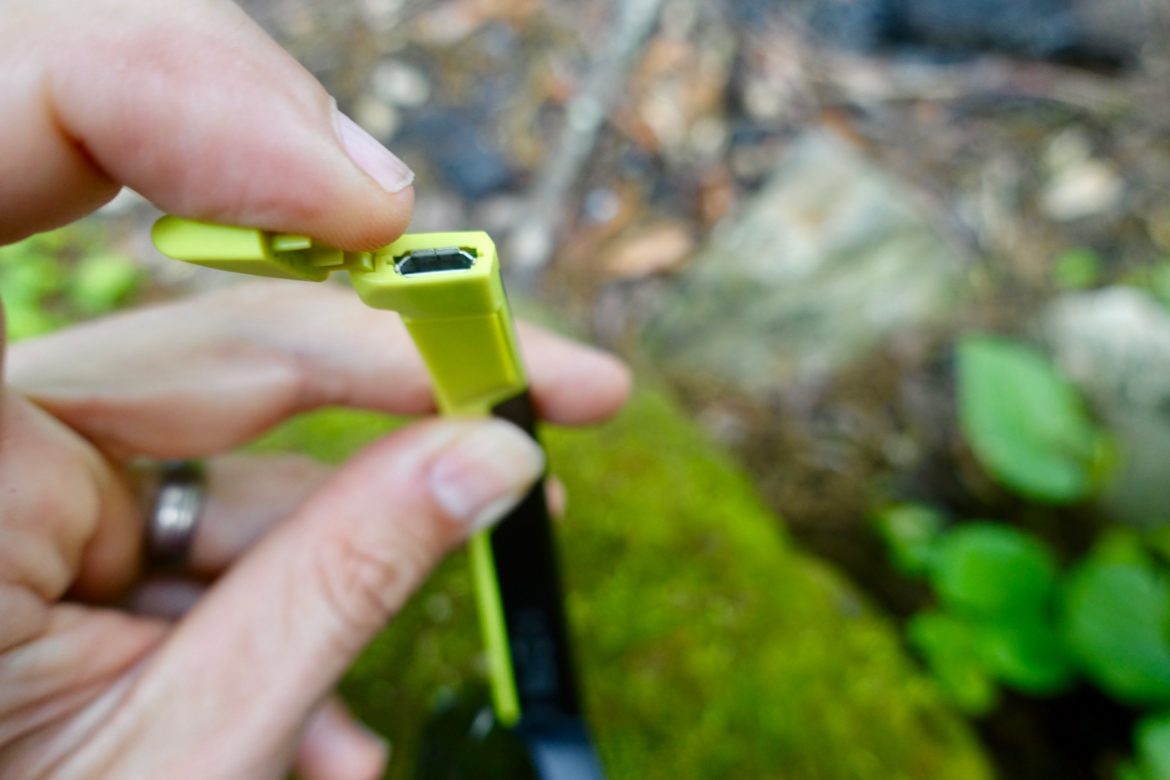
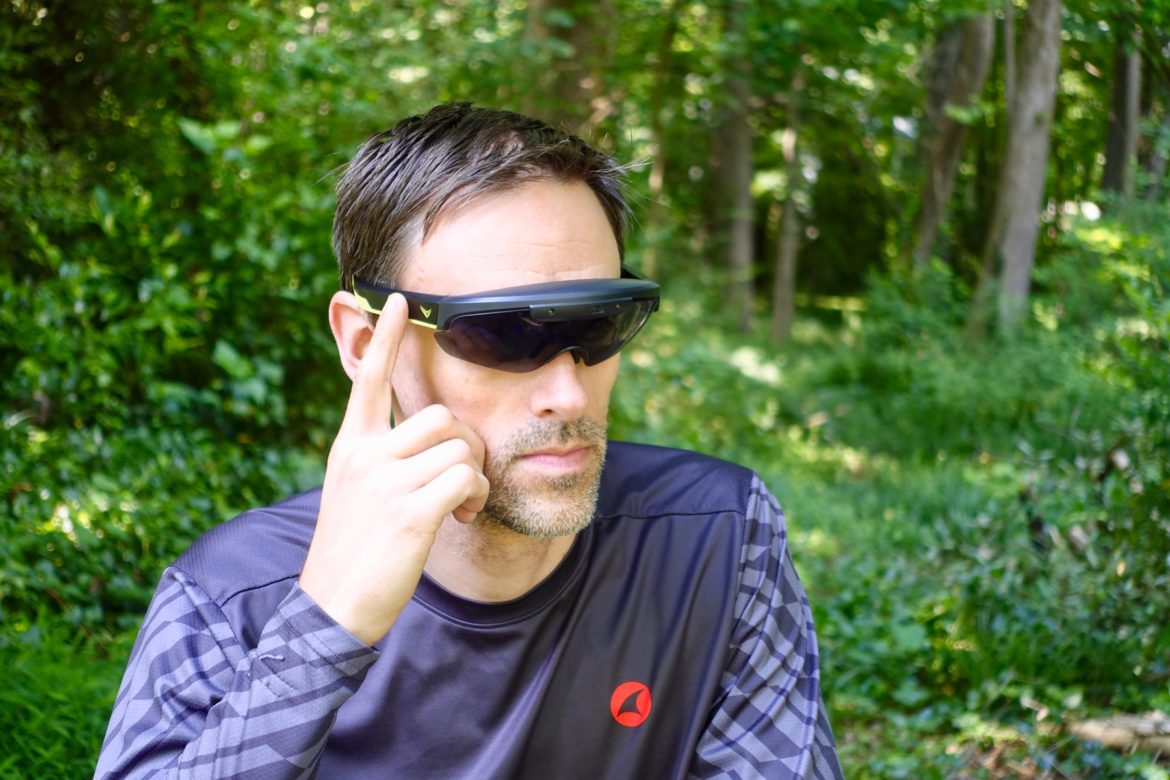
The Raptor looks like a slightly-more aggressive, beefed up version of the performance cycling shades you’re used to seeing on the trail. The temples are thick and wide, with a USB port, power button, and touch panel to control the display. The brow bar houses a front-facing camera, a small projector, and a forehead sensor that turns the display off when the glasses are removed.

The medium-tinted lenses are angled sharply to account for the thick brow bar which measures about an inch deep at its widest point. On the inside of the lens on the right side, a roughly half-inch diameter circle is mirrored to reflect the projected image back to the eye.

All told, the Raptor eyewear weighs almost exactly 100g, about four times more than a typical pair of shades.
On the trail

When I first read about the Everysight Raptor, my immediate thought was: This would be awesome for navigating mountain bike trails! Indeed, it’s easy to sling GPX map files to the Raptor using the free Everysight smartphone app. The route shows up as a thick, green line and the display offers helpful feedback, alerting the rider when they are off route.
The in-eye display is limited to just a few colors — yellow, orange, and green — and Everysight does a good job keeping the display simple. In navigation mode on an unfamiliar trail, the route, along with ride stats, is visible in green. However, whenever my route crossed an intersection with a path or road on the built-in basemap, the basemap briefly lit up, revealing alternate paths on the map. Because Raptor tracks which direction the wearer is facing, the map rotates to orient itself.

So imagine coming to a four-way intersection in the trail. With the basemap lit up, it’s easy to distinguish the route as being either the left, right, or middle option. GPS units and even smartphone mapping apps have the ability to orient themselves too, though in my experience they can be slow or finicky, depending on how the unit is held or mounted. The Raptor is much more intuitive.
Sticking with the dedicated GPS comparison, the Raptor clearly can’t match the level of visual detail seen on a smartphone or color-screen GPS unit. Where it really shines is in the application. If you’ve ever tried to glance down at a map on a bar-mounted GPS while riding, you know it can be difficult to read. The Raptor makes checking ride stats and the map safer and easier, though it still requires shifting focus off the trail and onto the device. Put another way, it’s not possible to focus on the map and the trail at the same time like some sort of video game overlay. Riders can only view one or the other.
With eyes focused on the trail ahead, the display mostly recedes out of focus and isn’t distracting, at least during the day. I tried riding with the Raptor at night, and despite turning the display brightness to its lowest level, I couldn’t quite see “through” the Raptor display in the dark.
Device controls

The Raptor is controlled through a touch-sensitive panel on the right temple. Swiping up, down, forward, and back cycles through the menus, and a tap selects. A double tap brings up the camera to take photos or video.

I found the menus to be simple and easy to navigate. The touch temple works with gloved fingers and is generally pretty reliable. It’s even possible to control some functions with your voice, like snapping a photo or recording a video.
Here are some samples of photos and videos taken with the Raptor.


Note: The white text overlaid on this video has been added by the software. The wearer’s view is slightly different; for example, the actual display text is colored orange.
I was pleasantly surprised by the quality of both the photos and video. Of course good light is the key to crisp photos with a small camera, so again, daylight is best. The night video above came out surprisingly stable, though I didn’t have the same luck in all my test videos, even ones recorded during the day. The eye-level perspective is pretty refreshing compared to a chest-mounted POV (too low) or a helmet-mount (too high).
The fit

Everysight has done a great job fitting a lot of tech into a small package. Still, the glasses are much heavier than a standard pair of shades, and bulkier too. The company provides a lot of information on dialing in the fit, and even includes optional stickers to help improve grip.
Fitting the temples under a set of helmet straps is tricky, and after riding for an hour or so, the Raptors were uncomfortable. That being said, despite feeling really uncomfortable toward the end of a recent ride, I just couldn’t bring myself to take the glasses off because they’re so dang useful.
I’m sure plenty of readers chuckled at the photos above; admittedly, these look a little ridiculous. When I showed up for a group ride in the Raptors, I got a good bit of ribbing. Then, as everyone took their turn looking through the lenses, smirks turned into straight-faced respect as the utility (and dare I say, cool factor) of a heads-up-display for mountain biking became apparent.
In a lot of ways, the Raptors remind me of the ill-fated Google Glass product, though with a pared down set of features specifically selected for athletes. While Google Glass was available only to a select group and sold for $1,500, anyone can pick up a pair of Raptors (which happen to be built on the Android OS) starting at $599. That’s a lot of money for sure, but less than I expected. Thinking about the price another way, plenty of “dumb” sunglasses easily cost $200 or more, and don’t even attempt to replace a GPS or helmet camera.
Conclusion
While I can’t imagine myself wearing Raptors on every mountain bike ride, it’s exciting to get a glimpse of the latest technology. For early-adopter types, the Raptors are an easy choice. The entire system is surprisingly dialed for such a new product; packaging, documentation, companion apps, sensors, the display, and interface are all well executed. Perhaps the only thing keeping these from mainstream adoption is the form factor, which is almost certainly going to improve.
Thanks to Everysight for providing the Raptors for review.


9 Comments
Jul 11, 2019
Wouldn't it make sense to incorporate this into a helmet visor in some way? I wouldn't notice the weight if the "screen" mounted as a visor of the helmet.
Jul 11, 2019
Jul 16, 2019
Jul 10, 2019
Jul 10, 2019
Jul 10, 2019
https://www.singletracks.com/photo.php?c=1&p=153035
Jul 15, 2019
I just wonder if it can be charged while on? Especially doing longer ride days 8+ hour, past the advertised battery life, that would be a handy capability.
Jul 21, 2019
I work for Everysight, and yes - they can be charged on the go. I've done 10+ hours rides with them...
cheers,
eyal
Jul 12, 2019
I can see that there'd be some interest...