This is the first in a series of how-to articles based on my 2012 DH bike build, the Santa Cruz V-10.
Headset Installation
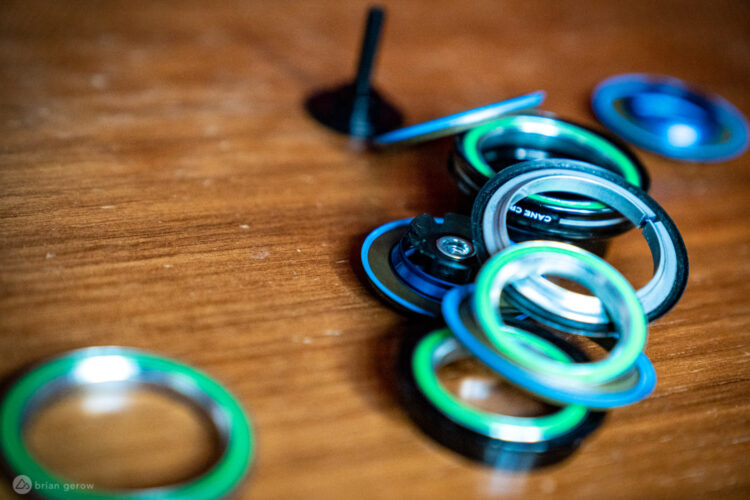
When it came time to select a headset, I decided to go with an AngleSet unit from Cane Creek to slacken the V-10 headtube angle by half a degree. Fortunately Cane Creek has great instructional videos on their website which made the process fairly simple. Before getting started, make sure to clean and inspect your frame and parts to verify that everything is ready to go. Use a proper headset press and line up the headset markings so the unit is centered on your frame; otherwise you’ll end up with wonky steering. Also pay attention to the direction of your AngleSet install: with the thick wall pointing forward you’ll decrease your headtube angle, while pointing the thin wall forward will increase your angle. Either way is acceptable, it just depends on your goal.
Seeing that this is somewhat difficult and requires tools you may not have, take it to a pro to do it for you (this should be an inexpensive procedure at most shops).


Installing a Fork
Fork installation is next. Again, if you’re not comfortable cutting a steering tube, or if you just don’t have the gear, be sure to visit a bike shop. For those of you who do have the gear (steering tube guide, lower race installation tool, hack saw, files and deburring tools), the procedure is pretty straightforward. Start off by installing the lower race with something like the Park CRS#1 setting tool. Once that is in place, the bearing and headset gimbal goes next.


Carefully feed the fork through the head tube (you have have the upper fork crown off for the moment). Then place the upper gimbal, bearing, and compression ring in, followed by the top bearing cover. Some people want a bit higher positioned bar, so follow the manufacturer’s recommendations as to how far you can space your upper and lower crowns (found in the installation guide of all forks). Install the upper crown, and place a mark indicating the top of the crown or where you want to cut – a minimum of 2mm above the top of the upper crown is usually recommended. Once you do choose to cut the steerer, use either a pipe cutter or a tool like the Park SG-6 saw guide and hack saw. Finish the cut by deburring it and then installing the star nut with a setting tool.

Now, reassemble the front end with spacers. Double check the work and check the steering once again. Make sure there is enough tension that the fork has no play, but doesn’t feel tight. Once you have the right tension on the bearings, tighten the upper crown down followed by each of the stanchion bolts. Cane Creek has specific instructions found on their website showing how to correctly install theAngleSet races and gimbals, so if you’re planing on using an Angleset headset, I highly advise that you watch that video before getting started.
Next up: Installing the drivetrain.


9 Comments
Dec 20, 2011
Dec 19, 2011
Dec 19, 2011
Dec 19, 2011
Dec 19, 2011
Cutting a fork steerer is pretty easy...Just remember cutting twice usually is not an option. Specially if you cut too short...
The trick really is just making a straight cut, making sure that the edges are removed afterwards.
Using the correct tools just makes the job faster, not necessarily better. long before I had a starnut setter, or steering tube guide, I was using a pipe cutter. Before that just a tape mark and patience with the hack saw. Just trust yourself and the installation guide.
Dec 22, 2011
The big plus though is a dead straight cut.
Dec 19, 2011
Remember measure twice cut once! :)
Dec 19, 2011
Dec 19, 2011
AngleSet looks like a cool solution, I'm interested to hear how it performs!