This is the third in a series of how-to articles detailing my 2012 DH bike build, the Santa Cruz V-10.
Trimming Brake Hoses
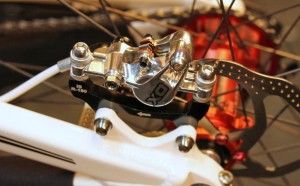

I tend to save the brake hoses until last, cutting them after the fittings are set at the correct angle and the exact position of the hose on the frame has been established. Cutting hoses is a one time deal. Once a hose is too short, you’re outta luck, so do it right the first time. Make sure all the lines are secure and that there are no kinks in the places where they have movement, such as at the head tube and suspension.
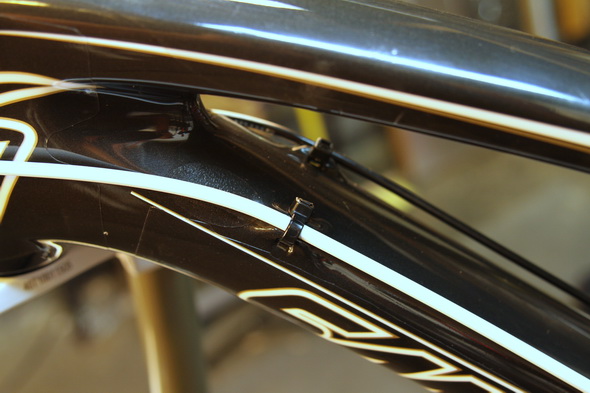
It’s also a good idea to trim the ends off cable ties as close to the connection as possible. Doing so leaves behind a smooth surface rather than a jagged edge which can catch on clothing, or worse, yourself. Use a sharp blade to carefully remove the excess off the cable tie.
So after all the brake lines are tied down, I get to the business of trimming the lines. Avid makes it very easy with some new tools that were introduced at Interbike this year. I used Avid’s pro bleed kit (along with extra compression fittings, nuts, and barbs) along with two cool new tools that make life way easier: the hand-held hose cutter and barb-end driver.
First, I established how much hose I needed to cut by removing the hose from the lever end and then marking the hose where I felt it needed to be cut. For the front wheel it is a simple matter of making sure that when the suspension is fully extended, the brake cable doesn’t tug or interfere with the other cables’ movements. For the rear brake, I made sure that when the steering is in full lock left or right, the hose did not pull.


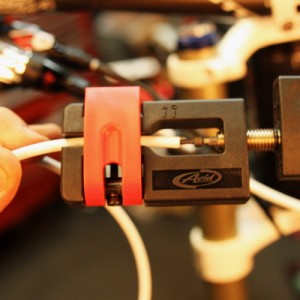
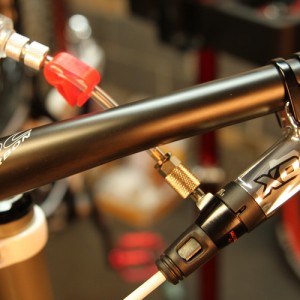
On the XO brakes, an 11mm wrench and the supplied crowfoot (8mm) tool were used to remove the lines. After that, I simply cut the hose using the Avid hose cutter (leaving an amazingly clean cut) and then installed the new compression nut, compression fitting, and barb, in that order (not forgetting to toss on the boot first). The barb fitting tool made short work of installing the barb end. Once that was done, I then reinstalled the hose (for further details see this post). Finally, I bled the hoses. This video will help with that:
Once the hoses are bled, you can get to finishing off the bike and those little details such as cable stops and ties. I use the supplied Avid cable joints: they are durable and clean looking. Just be sure that you test spin the wheels to make sure the CPS hardware and calipers are lined up with the wheels. Finally, double check to make sure the front and rear wheels are buttoned up.
Stay tuned for my final Santa Cruz V-10 build article on dialing in the cockpit.




4 Comments
Jan 4, 2012
Jan 4, 2012
Jan 6, 2012
Jan 6, 2012