Soon after my review of the Cane Creek Double Barrel was published, a small package arrived. Low and behold, it was the shiny, freshly-minted DBAir! Boy was I stoked to try this unit out.
My first thought was, “The holy grail has arrived, and it is sitting in my hands! Lightweight! Proper 4-way tuning! Infinitely adjustable air spring! Adjustable spring rate!” Did I mention that it is probably the lightest DH shock to date as well?! So needless to say I had high expectations of the DBAir, seeing that I had just finished working with the coil version of the Double Barrel.
Specs

The DBAir is an all in-house design, with no help from Ohlins this time round.
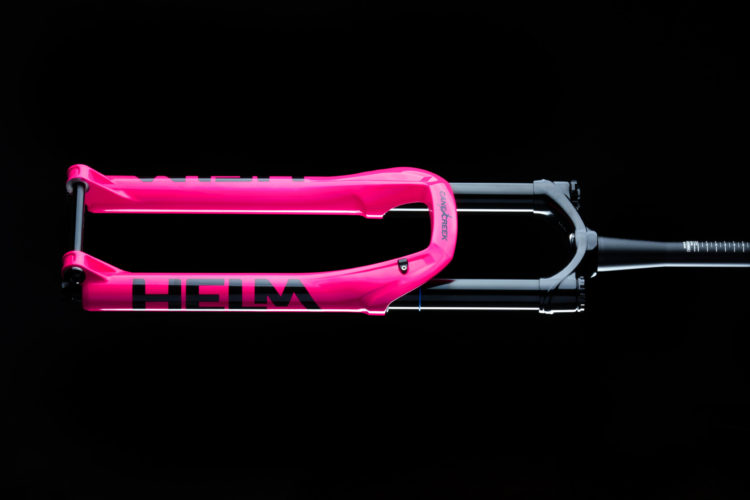
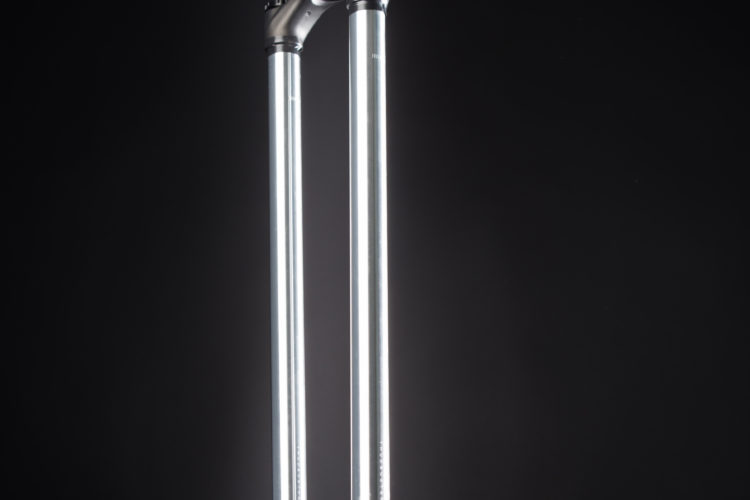
In my previous Double Barrel review I posted a link explaining how the twin tube works, and you can find the same video below. Basically, in the twin tube system, when the piston compresses or rebounds, the piston circulates shock fluid from one tube to the next via the compression / rebound adjusters and check valves in the piggyback unit, then back to the opposite side of the piston. This means compression and rebound tuning is truly separate. The actual adjuster units further separate high and low speed with the use of a shim and, I believe, a needle bleed (it’s hard to tell, and I am not willing to take one apart). All that essentially stays the same for both units (pictured side by side above).
What does change is the smooth, anodized surface on the shock body where it mates up to the air spring, in a similar-yet-different manner from the Vivid Air. As the shock body compresses in this unit, the volume greatly reduces in the air can, raising the pressure–and that’s how you get the air spring.

Now what is truly different is the ingenious way you can change the can volume. By carefully removing the compression o-ring found on the bottom of the air can, you can easily add or remove spacers to modify the volume, allowing you to have a flatish rise in rate or ramped-up rise. Sound difficult? It’s not. In fact, I would have to say that Cane Creek does an outstanding job at presenting as much information as you can handle. There is a 30-page owners manual, 25-page field guide, and two other pages of info so you can adjust the volume on the air can and change your own shock bushings.

The image above clearly marks all the settings and how to adjust them with the provided tool. You should even be able to figure this out even after a few post-ride beers!
Installation
Installing the DBAir is pretty easy: just remove your old shock and install the new one. My DBAir arrived with the mounting hardware already installed and I did not have to swap out hardware. I strongly encourage installing all new hardware with a new shock. That way you don’t have worn or partially worn gear to deal with.
Seeing that the DBAir came straight from CaneCreek, I knew it had been set to the middle of each setting. The first thing I concentrated on was setting sag–the shock will not function correctly without proper sag. I printed out the tuning field guide, which has space to record settings and comments. That’s a good idea if you’re into extracting the maximum performance out of your shock.
I need 30% sag in my rear shock. To achieve that, I had to add 190 psi to the air can (remember, wear all the gear that you normally use, and adopt a neutral riding position). Writing that down in the book, I could then move on to the slopes.
Testing and Tuning

Lucky for me, the DBAir arrived with plenty of time to tune it up before my Mountain Creek trip. Most of the prep tuning was at Blue Mountain resort, mixing it up on the fast, flowy slopes like Haole, to the rockier runs like Grab Bag, Big Sleaze, and Waterfall.
Once I had the sag down, I started to do a bunch of runs to get an overall feel. Having already tested the Cane Creek Double Barrel, I more or less had an idea about where I needed to go.
High speed compression (HSC) was next, and I was way off. With two turns already in, I was eating up my travel too quickly, spitting me off the bike on the rebound as well. Adding half turns at a time, I ended up with adding an additional 1.25 turns to the HSC.
Remember, I said “spitting me off.” That would be the next issue: the High speed rebound (HSR). I found that at a setting of two, it would literally kick me off the bike. Again, adding half turns, I ended up needing 3.4 turns of HSR to keep things running smoothly.

The final two settings were pretty close right out of the box at 12 clicks apiece. I did notice a bit too much pedal bob, so I added another 2 clicks on the low speed compression (LSC) until I had what I considered a good balance between pedal input and small bump compliance.
Adjusting the low speed rebound (LSR) to 14 clicks, I ended up with a perfect balance between plushness and resistance to movement.
One of the last things I did with my shock was to play with the volume in the can. I found that adding 4 spacers gave me that needed progressive rate when the bike was deep in the travel–perfect when coming off the larger jumps or tearing down Evil Bob at Mountain Creek.

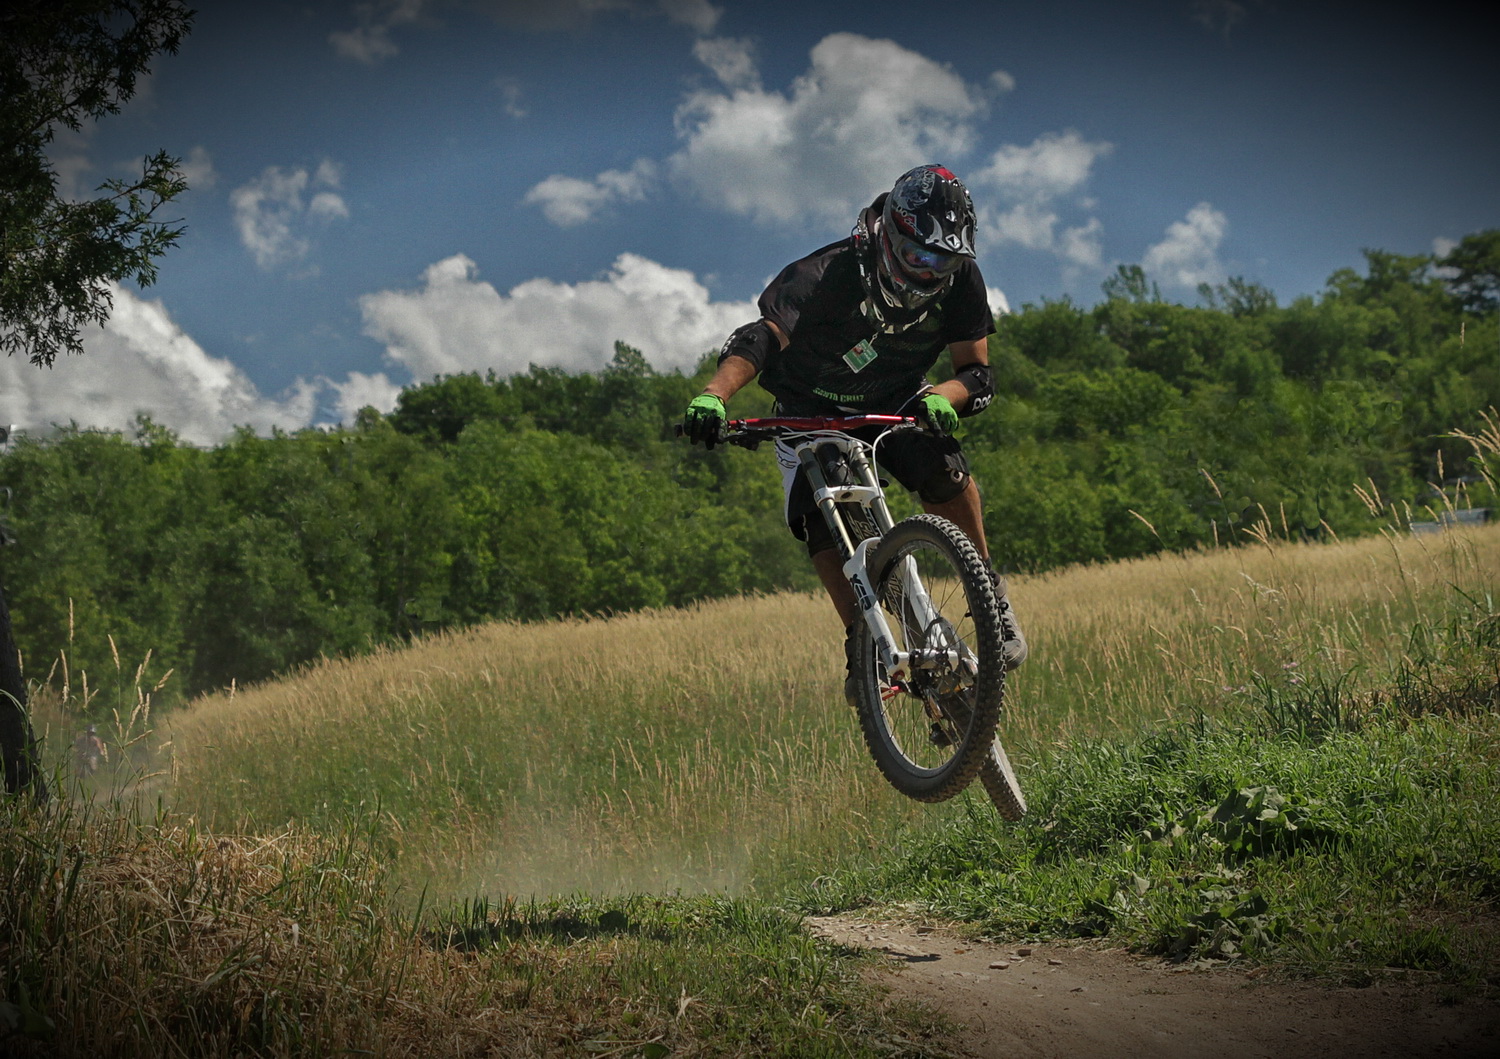
The photos above show excellent examples of railing a berm and hitting a hip jump. It wouldn’t be possible if the bike could not track well.
The Verdict
To date, nothing I have ridden works as well as the DBAir. I absolutely love this unit! It has everything I could ask for: stupefying light weight, small bump sensitivity, large bump absorption, and a bottomless feel. Never mind the already great dampening controls, which with the new graphic, leaves no room for misinterpretation when tuning.
The field guide, which I highly recommend printing out and using as a record (or at least a copy of page 20), is perfect to help you keep track of your settings and gets you on the right foot as far as tuning is concerned. This shock is not for the beginner, as the settings could be a little overwhelming, but a seasoned rider or pro should really consider this!
With an MSRP of $650 you’re looking at a big commitment but again, if you spend the time, you’re getting what is truly an amazing rear shock!
One very big thanks to the folks at Cane Creek for sending the DBAir for review!


10 Comments
Oct 16, 2014
I know this dates back a few years but I'm thinking of fitting a DBAir to my V10C. Two questions for you...
1. Which travel setting were you running for this review? 8.5 or 10.
2. Approximately what do you weigh.
Did you stick with the DBAir post this review?
Andy
Oct 16, 2014
Yes DBAir is my go to rear shock, and yes I still use it.
10 Inch travel setting only, and I come in at 190lb
Oct 17, 2014
Aug 28, 2012
Aug 27, 2012
Aug 27, 2012
Feb 15, 2015
Aug 28, 2012
Feb 16, 2015
Lightweight, fully adjustable, with no BS fancy marketing items added.
Aug 29, 2012
Thanks for the knowledge!