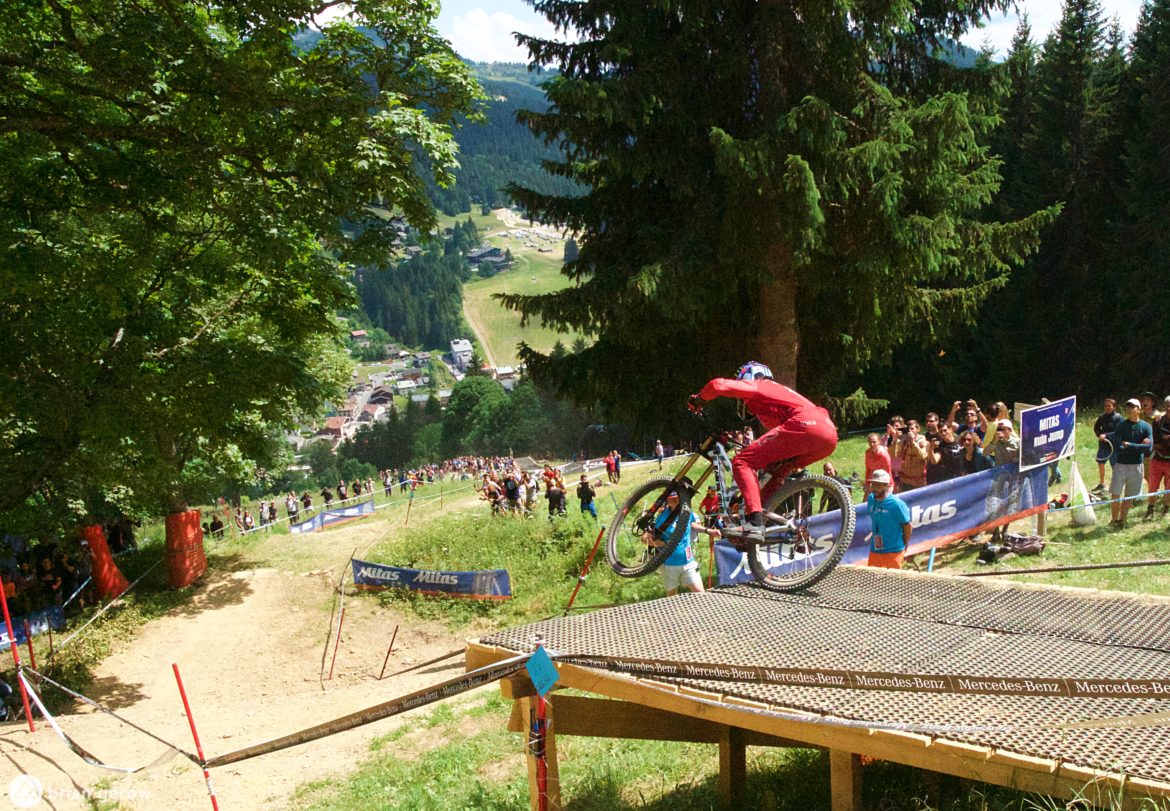
Anodization is an admittedly nerdy topic to cover, with less spice than a road gap photo or a review of the latest blingy hubs. However, the bike in that road gap shot is covered in anodized bits, including the cranks, chainring, pedals, axle, dropper, brake levers and calipers, headset, BB, hubs, seat post collar, and nearly any other part that’s made of aluminum. Brands like Turner and Santa Cruz used to anodize entire frames.
Though there was no formal “aluminum age” to replace the iron age, aluminum spread quickly around the world after its discovery in 1825, praised for its impressive strength-to-weight ratio. The drawback is that the metal needed to be treated against corrosion, and the available paint used to coat things wouldn’t stick to it. In 1923, the process now called anodization was discovered in Japan, and quickly spread around the globe as the standard for preventing aluminum corrosion. We interviewed industry professionals Richard Bretherton of Anodize Solutions and Mike Rischitelli from Industry Nine to find out how the process works today. Surprisingly, very little has changed.
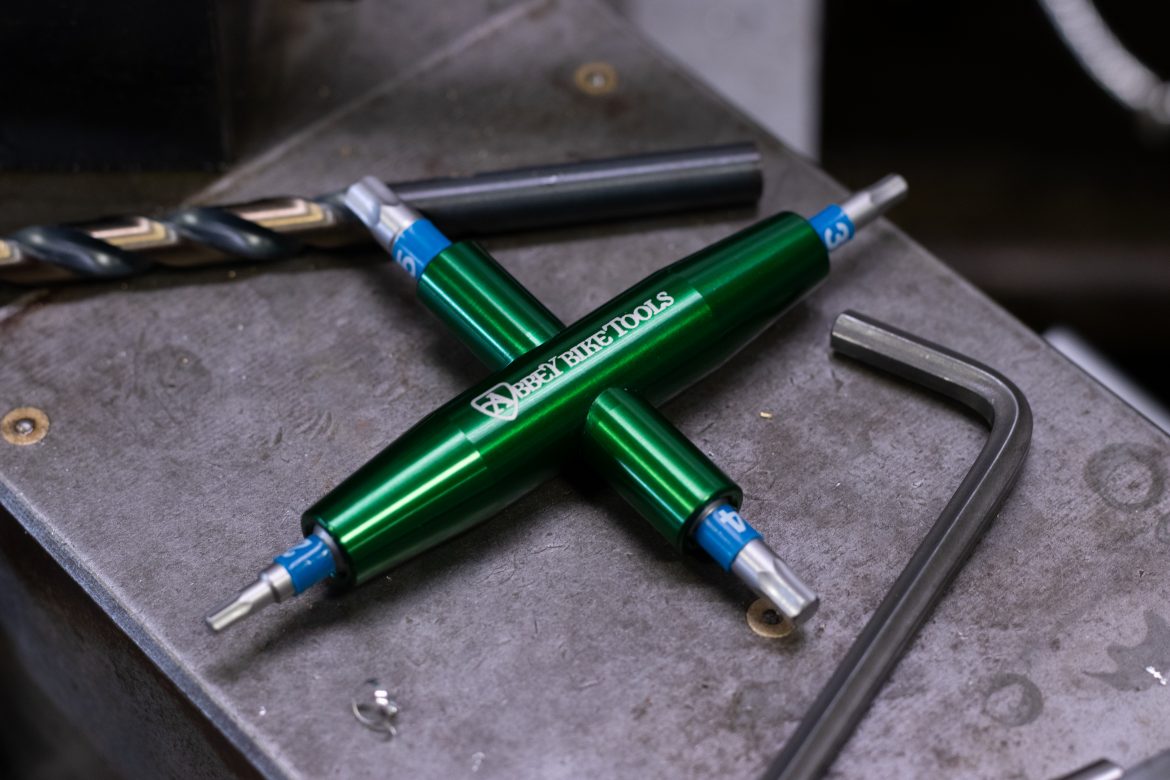
Most of the component manufacturers we have chatted with choose to outsource the anodization process for their parts. The full systems needed to add this protective layer to aluminum bits costs heaps of money to build and run, and the wastewater treatment on the other end requires a staff scientist. We chatted with Jason Quade of Abbey Bike Tools, who made it clear that the paperwork and hassle of anodization aren’t in their card deck at the moment. The signature Abbey colorway is akin to a British Racing Green, and the color is particularly unstable. Where some dyes will last several months, theirs start to change color after only a few weeks and has to be remixed. For that and many other reasons, Quade uses a top anodization shop called Anodize Solutions in nearby Tualatin, Oregon.
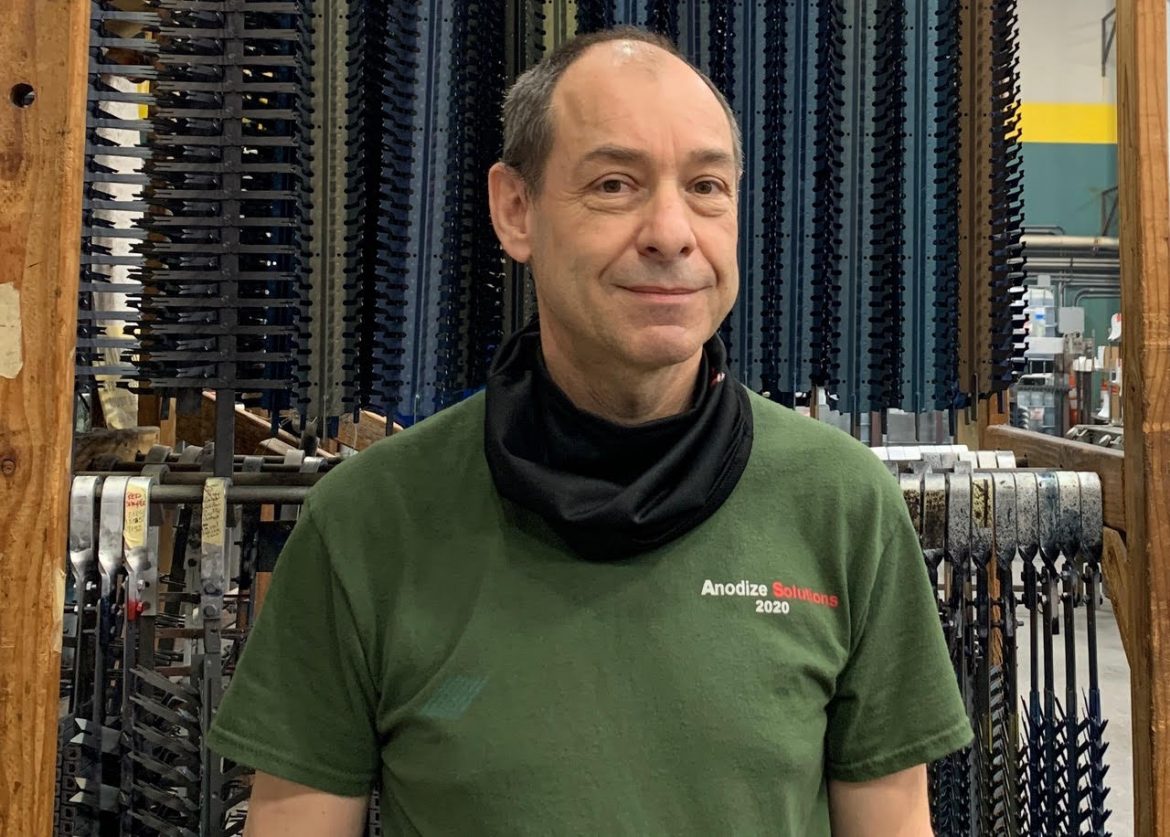
Anodize Solutions owner, Richard Bretherton, has been in the business for over thirty years, save a two-year break when he went to work on cell phones for Apple. His academic degree in chemistry is a helpful resource, though he learned the trade more seat-of-the-pants style while building his first anodization lab for aerospace parts.
According to Bretherton, about 99% of aluminum parts are either anodized or painted, while anodization is preferred because it increases the strength of the surface considerably and allows for color dyes where desired. Rischitelli from Industry Nine says that “Anodizing creates a more durable, more abrasion-resistant surface finish than paint or powder coat. It is also cheaper at a large scale than other coating methods and significantly lighter which is important in the cycling industry. More subjectively, since the anodized coating itself is translucent, the finished parts have an appealing, slightly reflective, metallic base to the color.”
On the flip side, Rischitelli also mentioned why someone might not want to do this work in-house as I9 does. “The process requires a much higher start-up cost than other coating processes. The process involves dangerous chemicals such as sulfuric and nitric acids and the occasional use of their arch enemy: sodium hydroxide. It is also a very deliberate process that is unforgiving to shortcuts and workarounds. Maintaining color consistency is the most common issue that anodizers face because the absorption of color dye (and the resulting tint and saturation) is affected by many difficult to assess variables throughout the anodizing process.”
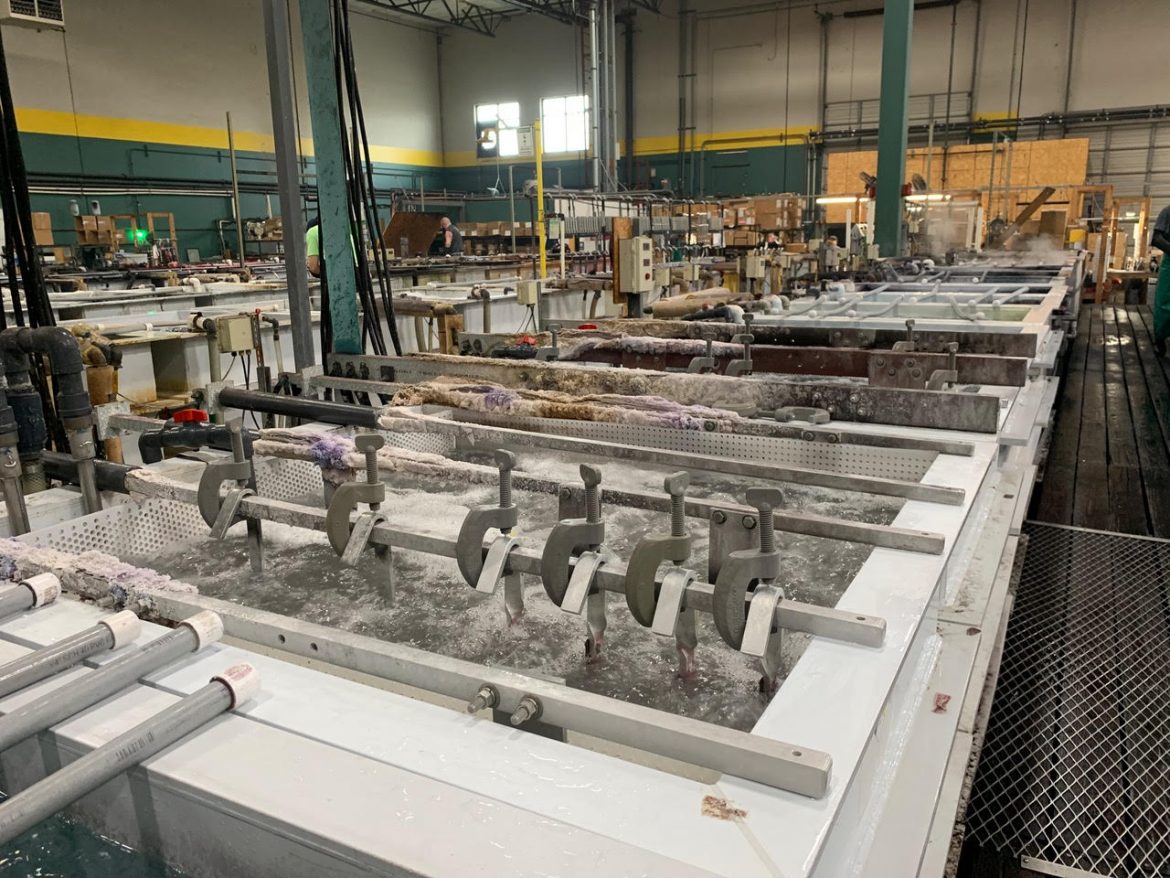
So what’s the basic process of anodization? Bretherton sums it up succinctly. “Anodization is unique in that rather than a surface coating or plating, the coating is actually part of the base material. You’re using dilute acid, and you apply a low DC voltage to it. You generate oxygen at the surface of the aluminum, and that oxygen bonds with the aluminum to form aluminum oxide. So it is actually part of the material.” Another benefit of that direct bond is that anodization won’t crack or chip off as the part wears. It can be scratched and worn off over time, but an abrasion in one spot won’t spread as it would with paint or plating. An example of this can be seen on your pedals, where the color is scratched, but not peeling up or cracking.
Color might be the element of this process that most people think of first. That initial anodization process is clear, or colorless, but the newly hardened surface is porous and can take on any color it’s dipped into. In terms of luster or texture, that’s all taken care of before the part reaches the anodizing factory. Bretherton says that anodization will mirror the original texture of the part. “For example, a bright shiny hub will come to us that way. Or, a textured Santa Cruz frame will come to us bead blasted or shot blast, using a steel shot. Anodize has no leveling properties on the surface of the material.”
In the steps prior to anodization, the surface of the component can also be changed chemically by dipping it in different solutions. For example, a “flat” finish is created by an acid etch, while a mirror finish is achieved by dunking the part in another chemical solution.
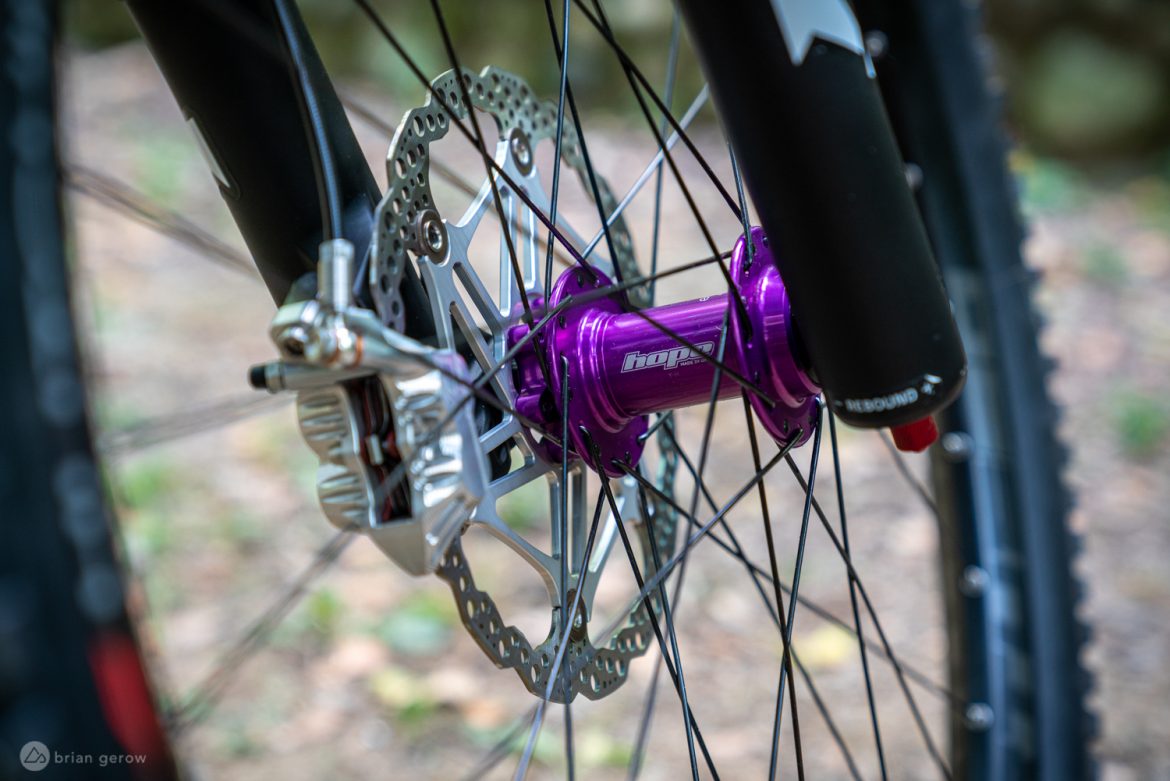
There are a few mechanical finishing steps involved in giving a component the mirror finish we see in Industry Nine and Chris King hubs, versus that of a more textured XT brake lever that has some grip to it. The parts can be blasted by steel, glass, or ceramic shot to give it the desired finish. According to Rischitelli, “the commonly seen textured finish is created by bead blasting of the piece and is popular because it serves as a deburring and smoothing step as well as the final finish. To achieve the high gloss look that Industry Nine is known for, the parts are polished to a perfect mirror finish before anodizing. Because the anodized layer grows perpendicular to the surface of the substrate, the anodizing directly mimics the pre-process finish.”
Of course, all of that polishing, etching, blasting, and final chemical interaction does affect the design tolerances of a component, and manufacturers have to calculate that change into their product design. Bretherton says “Anodization is a process that does add growth to the material. There are two ways that this can be handled, The first one is that that the manufacturer can produce the part a little bit undersized to allow for the material growth. Or, we can chemically remove material by etching the part. So we’ll etch off a few ten-thousandths of an inch, and then using the process we will add that back to bring the part back to the desired tolerance.”
We had to ask, are there other materials that can be anodized? Surprisingly, Bretherton had a fairly long list. “There are quite a few materials that will react and produce an oxide layer when a DC voltage is applied in an acidic environment. The main one that people would be familiar with is titanium.”
Unfortunately, the other materials that can be anodized don’t accept dye like aluminum does, although titanium does get a rainbow-like coloration when it’s anodized. Magnesium, like the stuff your fork lowers are made from, will quickly dissolve in the sulphuric anodization bath. Bretherton said that his workers know immediately if someone has accidentally sent them a magnesium part because the chemicals react with a vigorous bubbling. The quality of aluminum also greatly affects the anodization process, and harder alloys like 7075 are more difficult to work with.
If you’ve read this far, we have a nerd treat for you. Bretherton described the full anodization process from start to finish, and he says it’s something that folks can safely do at home with a little patience and care. He starts off the explanation with a comparison to plating. “When you’re plating copper, tin, zinc; the part that you’re plating is the cathode. It’s attached to the negative side of the circuit. With anodizing, it’s attached to the positive side of the circuit. Hence ano. Hence anodization.”
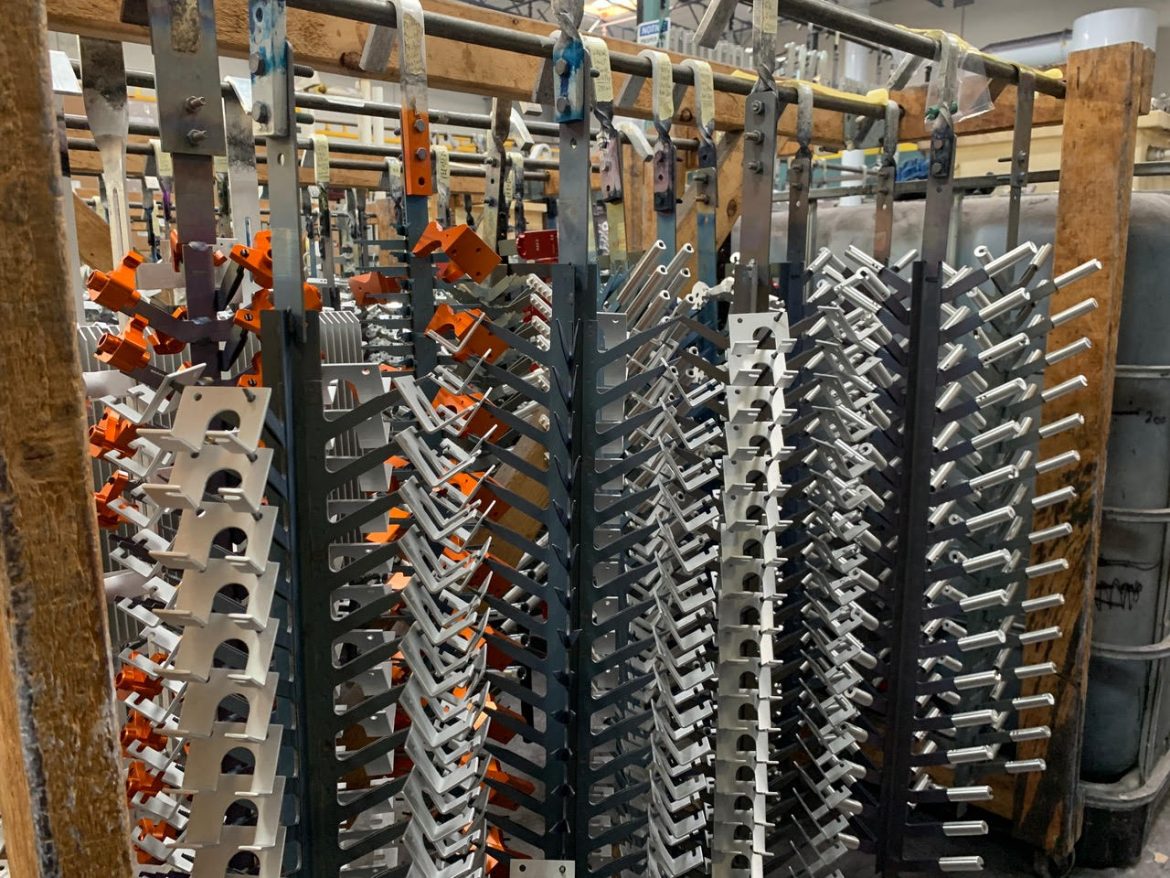
Then Bretherton went on to outline the life of a component in his factory. Anodize doesn’t conduct electricity, so there will always be a small point on a component that isn’t treated nor colored. “The process is exactly the same regardless of who or what they send us. First, we have to make electrical contact with every single piece. So every piece has to be handled at least twice. One to put it on a rack, and once to take it off. And we process several million parts per month. So there’s a lot of labor involved. Typically the customer will tell us a location on the part that’s non-visible or a nonfunctional surface where we can make contacts. There are only two metals we can use to make that contact. One is aluminum. One is titanium. Because both of those materials are resistant to all of the chemistry of the process.”
“Then, anodize is really three stages. First we have to clean the part with a very mild cleaner to remove cutting oils, fluids, and fingerprints. Then, it’s rinsed. Then, typically we will do an etch of some type depending on the surface finish the customer requires. After etching, we have a process called de-smut. When you etch aluminum you only etch away the aluminum. All of the other elements that are added to give the aluminum its strength [including] zinc, copper, or magnesium will sit on the surface as a fine smut or film. So we use a de-smut, which is a dilute nitric acid based bath to dissolve that smut. Then there are a couple rinsing steps, and at this point we consider the part clean and ready to anodize.”
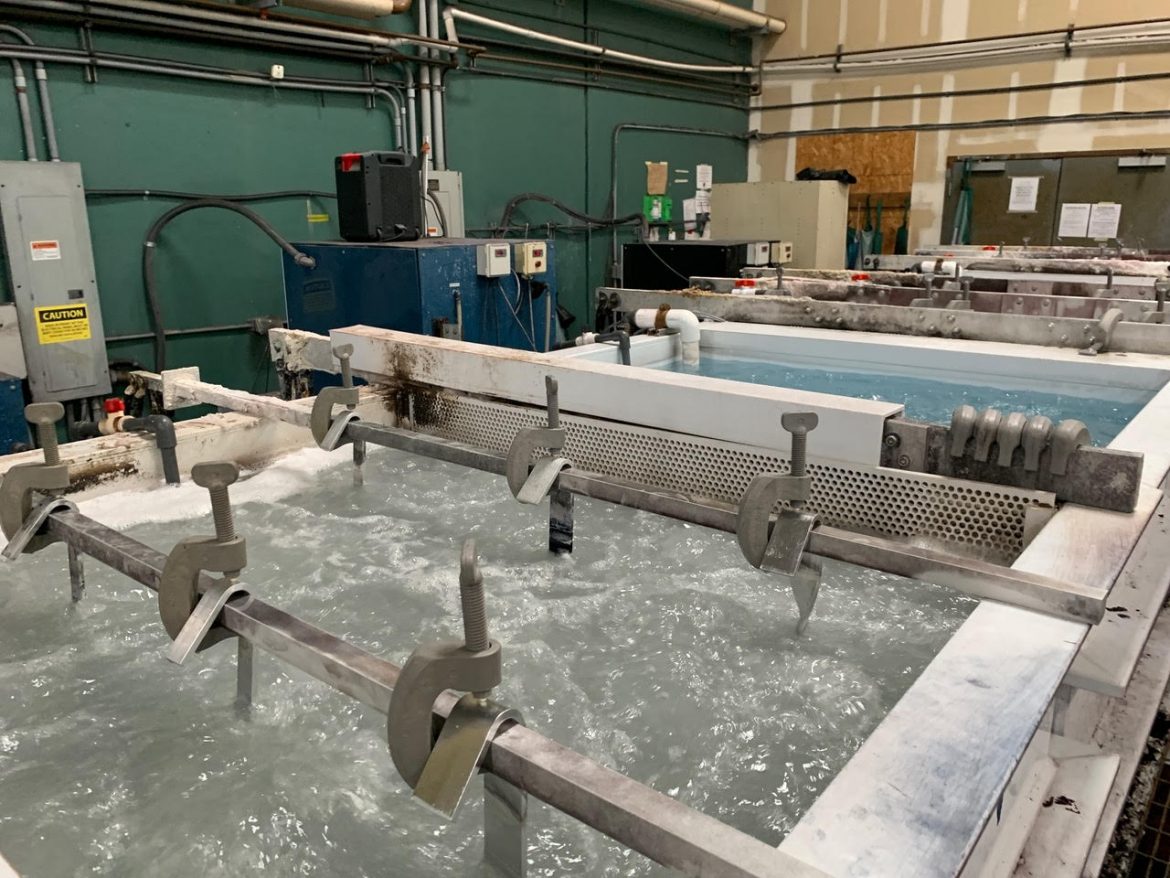
“Then, the part is placed in a dilute of sulphuric acid. The concentration can vary from 15-20%, and the temperature will vary from 50° to 70°F. Those factors will influence the properties of the anodize. We can push it more toward a cosmetic process, or the other direction where the main properties are hardness. Cosmetic coatings tend to be softer and thinner, and harder coatings tend to be thicker and darker. So the customer really has to choose what they want out of the part. The majority of parts in the bike industry are in a halfway area, where they get a good cosmetic coating, with a reasonably hard functional coating as well. The whole process can range from ten minutes for a thin coat, to an hour for a very thick and heavy hard coat.
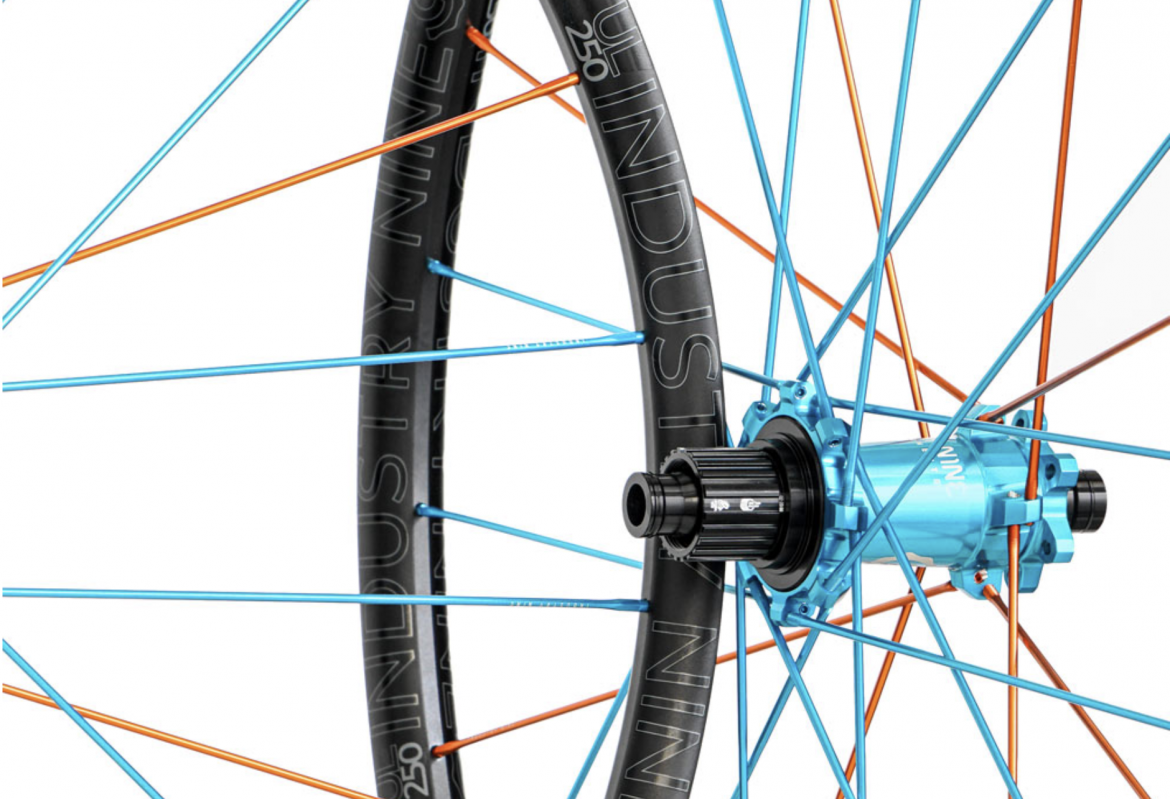
“After the anodize process we rinse multiple times. Then we start the third part of the process, adding the color and the seal. We will work with the customer to develop a specific color they want. Black and clear are by far the easiest and the bulk of our work, but the cycling industry likes pretty bright colors. That’s the challenging part; getting colors that match time after time. After anodize, the part is basically colorless, with a slight grey hue. It’s emerged into a dye, where the time can vary from two to three minutes for a light shade to ten or fifteen minutes for a darker shade. For black, we go fifteen to twenty minutes because very few people say ‘I want a lighter shade of black.’ Then, we dye to what we call saturation where we fill the pore completely with dye.
“After dying we have to seal the part. The pore at this point is open, and we’ve gotta stop that dye from coming out. The process we use swells the top of the pore shut, trapping the dye in the pore. That’s the main part of the process that gives the part its corrosion resistance and UV stability.”
“Start to finish we could get through the process in 45 minutes. For a heavier black part with a thick hard finish we could be looking at closer to three hours.”
Then everything gets a final rinse and it’s packed up to return to the customer.
The other element of this story is what happens with the thousands of gallons of chemicals after they are spent? The process lacks the hazardous waste issues that come with chrome and other plating, but what can you do with all of that acid? It turns out that the waste can be treated on-site by running all of the fluids through a series of tanks to neutralize the acid and adjust the Ph, leaving it safe to legally dispose of in the public sewer. The tanks and wastewater are monitored monthly by the city to ensure that the waste-stream is within the legal limits.
So that’s the anodization process. Next time you’re hitting a road gap — or wishing you could — remember that some of the parts on your bike are strong enough to take the landing thanks to this cool technology that hasn’t changed since 1923.







1 Comments
Mar 19, 2021