Fashion is a critical element of mountain biking, and most folks want their bike and body to look a certain way in the woods. Even riders who slide on a pair of cutoff jorts and a cut-sleeve t-shirt are making a conscious fashion choice with their outfit. “I don’t care” isn’t exactly a unique look. Some of us think more about the aesthetics of a new helmet than we do its protection promises. Nearly no one wears traditional three-pocket cycling jerseys today, even though they offer a convenient place to carry gear and the zipper makes them easier to peel off when soaked in sweat.
I would argue that it’s okay to care how things look. I spend more time dressed for rides than I do anything else outside my home, so why not put on the gear I dig most? Where the drive for aesthetic appeal can fall short is when we try to make bikes and components look a certain way at the cost of performance and without any mechanical advantages. For a majority of bike mechanics, internal cable routing will be one of the things that comes to mind while chewing on the question of unnecessary frame-fashion that can hinder a bike’s performance and offers zero advantages.
While sipping beers with a good friend, who is also a mountain bike frame engineer, the topic of cable and hose routing came up, and he said “you could do a whole engineering degree on cable routing. It’s so complex.” He showed me why the cables on his frame are routed the way they are, and why you need to leave some slack in the lines at certain points so that they don’t become strained when the suspension compresses. Every zip tie mount was carefully positioned with precise angles to allow for minimal stress on the brake hose or derailleur/dropper housing so that component can perform as it was intended. Keeping those cables away from anything that can damage them on the trail, and separated from shock or drivetrain interference, is another critical consideration when mapping their paths. Engineers also have to ensure that the cables are clamped in all the right spots to thwart rattling noises and to keep paint scratches to an absolute minimum. There are other considerations between the shifter and derailleur, but you get the idea. It’s complicated.
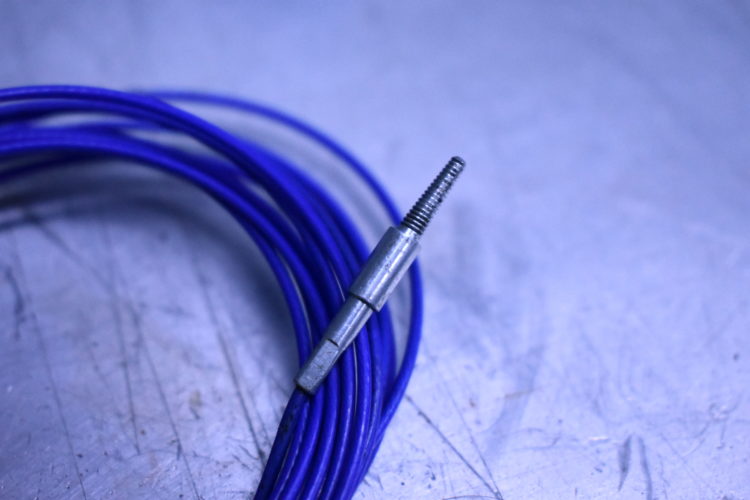
Internal guide tubes are added to some internally-routed frames to keep the cables from rattling around and making noise inside the frame, and presumably, to make the process of swapping components simpler for folks who don’t have a degree in microvascular surgery. However, sliding housing through slightly larger tubes in the frame is also complicated, and those narrow guide-tunnels can cause problems for mechanics. I have run into issues with more than one frame where the necessary cable arch between the front and rear triangle, or from the chain stay port to the derailleur, is too acute. The tight bend creates friction between the cable and housing, which negatively affects shifting performance. The mechanic then has to find a precise balance between a shift cable that’s loose enough to overcome the added friction, while tight enough to pull the derailleur across the cassette. The result is a sub ideal shifting system that will degrade faster than it should once a little dust or mud increases the friction.
One of the bikes that I regularly wrench on has this routing issue, and the last time I replaced the derailleur housing I taped it to the outside of the frame with a much gentler angle at the BB to test the difference. The shifting action was not only lighter and more crisp, but the derailleur tune felt far better for a longer period of time. I was able to dial in the tension to function the way Shimano intended the XTR derailleur to work, without having to fight the frame’s limitations.
The size of the internal guide-tubes can also make a meaningful difference, as some require regular cleaning in order for the housing to pass through without excessive force. Some frames I have worked with require that you cut the housing long because the far end can be come kinked and messy while shoving it into the tight tunnels, and it will need to be trimmed before running the cable. This is just another silly waste of energy and resources that doesn’t yield a performance benefit.

On the stoppy side, internal brake hose routing can be extra frustrating. If the frame has internal guide tubes the mechanic will have to cut and replace the hose olive in order to change the brake or remove it for service. The hose will become too short to use and need to be replaced after one or two olive chops, whereas with external routing you can simply open the zip ties to pull the brake, wasting nothing. Transition Bikes is one brand that sees the folly of internal brake hoses, and they route everything internally apart from the rear stopper. However, they may not think it looks great, as it’s quite difficult to find a photo of their bikes that’s shot form the non-drive side.
Loose internal routing, where housing and hoses pass through ports and float freely inside the frame, does take care of the hose cutting issue, but leaves you with the newfound issue of rattling noises as cables bounce against the inner frame walls. Remember when kids would return from lunch punch-drunk and bang against the lockers of your high school until someone sent them home? It’s similarly noisy. Loose routing can also help with the housing-angle dilemma, as the angle can often be altered somewhat to make the derailleur happy. Riders who mount their rear brake lever on the left side of the bars will want to check that the frame ports are interchangeable from side to side. If the brake hose has to go from the left lever into the left side of the top tube it will often rub on the paint, and it also looks somewhat silly. Fortunately, some frame designers have considered this, and made the ports adaptable to different routing preferences.
Noise from routing the cables loosely through the frame can be mitigated by adding foam tubing to the segment that’s internal, or wrapping zip ties to the housing or hose every few inches and letting the long tail of the zip tie pin the cable in a quiet spot against the inner walls of the frame. Or, you could skip all of that headache and just attach those lines on the outside of the frame.
Some shop mechanics might appreciate the job security that internal routing brings to their profession, and I cannot blame them for that. Anything that’s cool enough that “everyone has to have it” but also tends to be an unnecessary pain in the ass, is their bread and butter. While I fully support my fellow mechanics, and appreciate that they save me from the tedium of wheel builds, I even more so support the idea that anyone who wishes to learn should be able to do most of their own wrenching at home. Some internal cable routing methods make the homework needlessly difficult for new mechanics—again, without a performance benefit.

Internal or partially-internal dropper post routing is a somewhat necessary feature now that all of the actuators on posts have been moved from the head or the collar to the base. Nobody liked the original routing, where the cable attached under the saddle, constantly scratching the paint on its path up and down while also becoming snagged on things and breaking mid-ride. Mounting the actuator near the seat post collar worked well, as the cable didn’t need to move with the post, and it could be tucked securely against the frame. Alas, dropper cables inside the frame are something we have learned to live with regardless of preferences, as external options are few and far between. For folks who prefer external dropper routing, Vecnum makes a high quality post that comes with the actuator in either position.
Thankfully, there are loads of top-quality frames being designed with as much external routing as us external-verts could want. While Magura has put brake hoses inside handlebars, some brands run them through the headset, and SRAM AXS is parting with some cables and hoses altogether. And there are still plenty of great options for home wrenchers who don’t mind seeing the veins of their machine strapped quietly to its frame. I love a good-looking bike as much as anyone, but internal routing seems a waste of energy and resources that could be better spent on performance gains.


10 Comments
Aug 31, 2021
Aug 30, 2021
Yes, MTB trends are just that, trends. They rise to fame based on our desire for change and evolution. Then, when our focus is no longer on THAT trend (because, frankly, why would the majority want to sit around talking about the SAME trend), we move on to the subsequent trend out of boredom or exhaustion. The cons outweighs the pros or we simply can't articulate anything remotely interesting anymore (bleeding rocks comes to mind).
This is a prime example of a trend that enabled a largely cosmetic 'upgrade' with little performance gain. Maybe if you had measured just how much "lighter" and more "crisp" the shifting was due to your derailleur cable rerouting, we'd be all taping our cables to the outside of our tubing. You may in fact reinvigorate the resurgence of externally routed cables.
Sep 2, 2021
Have had little to no reason to mess with my cables after installation.
I honestly prefer the internal routing as it makes the bike look very clean, not to mention that when cleaning the bike, there is less areas for dirt to cling to with internal vs externa routed cables.
Sep 1, 2021
The giant does a similar thing but exists before the seat tube. I went with an external brand x dropper (great post) and have a small length of line exposed along the seat tube. Very neat and tidy install there too. If I had my choice I would go back to the old "standard" of external cables. Fully housed, secured with zip ties. Plenty neat an oh so much easier. I do ALL my own work, enjoy all of it except internal routing!!!
Matt H
Sep 2, 2021
Sep 1, 2021
Still unavoidable is getting hydraulics to work over bluetooth so get ready to drop a bloody 'ose from the master cylinder to the caliper...
Sep 3, 2021
Aug 30, 2021
Sep 2, 2021
Feb 25, 2025